Last updated November 18, 2026



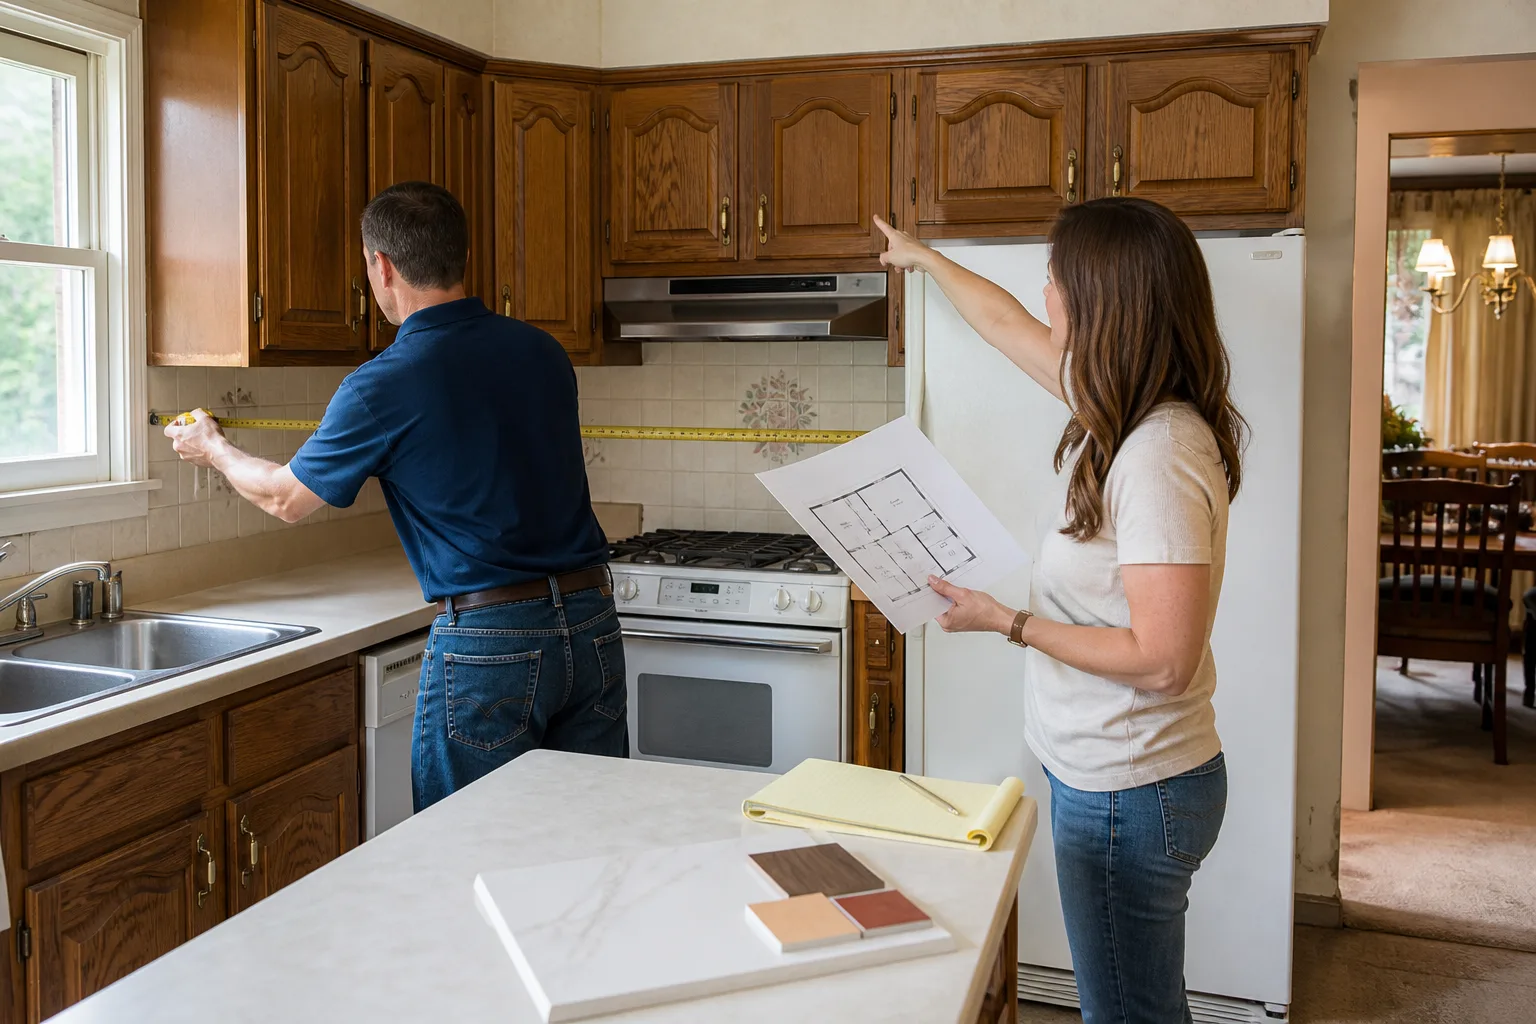
Free written scope consultation - allowances, timeline, and change-order rules on paper before a single trade is scheduled
Kitchen Remodeling Maintenance Schedule: What to Do and When
Granite countertops in a Paradise kitchen need resealing about twice as often as the same stone in a humid climate. Low desert humidity pulls sealer out of the stone faster, and most homeowners don’t find out until a ring of olive oil has already set into the surface. A kitchen remodel is a depreciating asset from the day the crew leaves, and how fast it loses value comes down to a maintenance routine most remodeling guides never bother to mention. What follows is a real calendar for Paradise homes: 30-day, 90-day, six-month, and annual tasks, with specific products, honest time estimates, and clear lines between what you handle yourself and what warrants a call to a professional.
Quick Answer
A kitchen remodel needs a written maintenance schedule that starts on day 30 and repeats on a 90-day, six-month, and annual cycle. In Paradise, that means resealing natural stone every 6 to 12 months instead of annually, descaling hard-water buildup monthly, and inspecting caulk seams, sink clips, and GFCI outlets every quarter. Skipping these tasks is the fastest way to void a manufacturer’s warranty and shorten the life of a kitchen you just paid a five-figure sum to build.
Styles & brands we work with
- Kitchen remodeling
- Bathroom remodeling
- Home additions & ADU
- Roofing
- Windows & doors
- Driveway & pavers
- Fence
Table of Contents
- Why a Kitchen Remodel Needs a Maintenance Schedule
- The First 30 Days: What to Do Right After the Crew Leaves
- The 90-Day Checklist: Quarter-by-Quarter Protection
- The Six-Month Deep Pass: Monsoon, Sealer, and Cabinetry
- The Annual Inspection: What a Contractor Checks That You Can’t
- Paradise-Specific Factors: Hard Water, UV, and Monsoon Humidity
- What Preserves Your Warranty and What Voids It
- DIY vs. Contractor Callback: Cost Benchmarks
Why a Kitchen Remodel Needs a Maintenance Schedule
Cabinet finishes, stone sealers, and caulk joints all have service lives measured in months, not decades. The problem is that they fail quietly. A failing sealer on a Cambria or Silestone countertop looks identical to a healthy one until liquid gets in. A caulk joint at the countertop-backsplash seam pulls away a millimeter at a time before it lets water behind the tile. By the time you notice, you’re paying for a repair instead of a bottle of sealer.
In our experience across Paradise kitchens, the homes that age gracefully are the ones where someone is on a schedule. The homes that don’t are the ones where the same person who meant to reseal the counters in March is calling in November about a soft spot near the sink. There’s no mystery in it. Maintenance is boring, cheap, and it works.
There’s a warranty piece here, too. Product manufacturers design their coverage around proper care. Set a maintenance routine that respects the warranty terms, and if something fails inside the coverage window, you’re in a much stronger position to have it fixed. Ignore it, and a manufacturer can decline a claim on grounds that the material was mistreated. Our own written guarantee, the 365-Day Done Right Promise, stands behind the installation. We’ll always make right what was installed wrong. But a sealer that wasn’t reapplied on time is a maintenance issue, not an installation issue, and it’s worth knowing the difference before you need to.
If you’re still planning the remodel rather than living with the result, start with our Kitchen Remodeling in Paradise page. Building maintenance into the design on day one beats retrofitting it later.
The First 30 Days: What to Do Right After the Crew Leaves
The first month is about catching settling and taking notes. New cabinets, new countertops, and new plumbing all move slightly in the weeks after installation. That’s normal. The goal is to confirm the movement is settling and not failing.
- Do a written punch walk on day 3. Open every drawer and cabinet door. Run the dishwasher through one cycle. Turn on the disposal. Flush every faucet hot and cold. Note anything that sticks, drips, or wobbles. Take photos with your phone and date them.
- Check under the sink. Look at the base of the cabinet under the sink for moisture, darkening, or swelling on the cabinet floor. New plumbing connections sometimes weep for a day or two before sealing tight. If you see water, dry it and watch for signs of a repeat.
- Wipe down cabinet exteriors with a damp cloth only. Do not use spray polish, oil soap, or any product with wax or silicone in the first month. A new finish needs to cure fully, and oil-based cleaners can interfere with that cure. A clean microfiber cloth and lukewarm water are all you need.
- Test every GFCI outlet. Kitchens are required to have ground-fault circuit interrupter protection on countertop circuits. Press the TEST button on each outlet, confirm it trips, and press RESET. Do this every 30 days. It takes 30 seconds and it’s the single fastest way to catch an electrical problem before it becomes a code issue.
- Note the sealer date on your stone. Write the date on a piece of masking tape stuck to the underside of a cabinet or the inside of a drawer. If the installer didn’t give you a specific reapplication window, assume six months in Paradise and adjust from there.
- Run the exhaust hood on every cook. Grease, steam, and cooking smoke all end up on your cabinets and ceiling if the hood isn’t moving air. A hood that sounds like it’s working but doesn’t clear steam is worth flagging in the first month, not the first year.
Write down what you find. If the punch list has more than a handful of items, or if you see a leak, a misaligned door, or a drawer that won’t close cleanly, that’s a callback – and it’s covered. A written guarantee on every project means the visit costs you nothing.
The 90-Day Checklist: Quarter-by-Quarter Protection
Four times a year, spend 45 minutes on the following. Put it on your phone calendar. In Paradise, the design of the house makes a difference here too: a kitchen with a south- or west-facing window takes more UV on the cabinet faces than one with a north window, and hard water in the local supply means mineral deposits build up on fixtures faster than most homeowners expect.
- Inspect caulk at the countertop-backsplash seam. Run your fingernail along the bead. If it peels away or you can feel a gap, it needs cutting out and reapplying with a 100% silicone caulk rated for kitchens and baths. That seam is the single most common entry point for water damage behind a backsplash.
- Check undermount sink clips. Reach under the countertop and feel the mounting clips that hold the sink in place. Look for loose clips, a slight separation between sink rim and countertop, or rust on the clip arms. Loose clips can let an undermount sink drop, and replacing a sink is a much bigger job than tightening a screw.
- Descale faucets and the dishwasher. Paradise water is hard, and the calcium deposits show up as white crust on the aerator and cloudy film on glassware out of the dishwasher. Soak the faucet aerator in a 50/50 mix of white vinegar and water for 30 minutes and reinstall. Run a dishwasher cleaning cycle with a citric-acid-based descaler once per quarter.
- Clean the range hood filter. Most hood filters are dishwasher-safe, and grease buildup on a saturated filter cuts airflow and can be a fire hazard. Every 90 days is the right interval, and more often if you cook with oil often.
- Wipe cabinet faces near the range. Cooking grease is the single biggest dirt source in any kitchen we’ve worked on. A quarterly degrease with a mild dish soap solution on a microfiber cloth is safe for factory finishes; stronger cleaners may not be.
- Check under the sink again. Same drill as day 3. Touch the cabinet floor and feel for moisture. Flash a light on the supply lines.
If you’re already seeing a failing finish on the cabinets or a crack in the caulk joint that comes back after reapplication, that’s a sign to bring someone in rather than reapply a third time. Our General Contractor in Paradise page covers how we handle warranty callbacks and inspection visits.
The Six-Month Deep Pass: Monsoon, Sealer, and Cabinetry
Every six months, do everything in the 90-day list plus the following deeper tasks. Late spring and early fall are the best timing because they bracket the monsoon season, where brief but steep humidity spikes push a lot of moisture into the air and can cause wood cabinet doors and drawer fronts to swell slightly at the edges.
- Re-test stone sealer with a water drop test. Put a dime-sized drop of water on your countertop and leave it for 15 minutes. If the water absorbs into the stone and leaves a darker spot that’s slow to fade, the sealer is done and it’s time to reapply. On a sealed countertop, water beads on the surface and wipes clean without a trace. In Paradise, do this test every six months, not once a year.
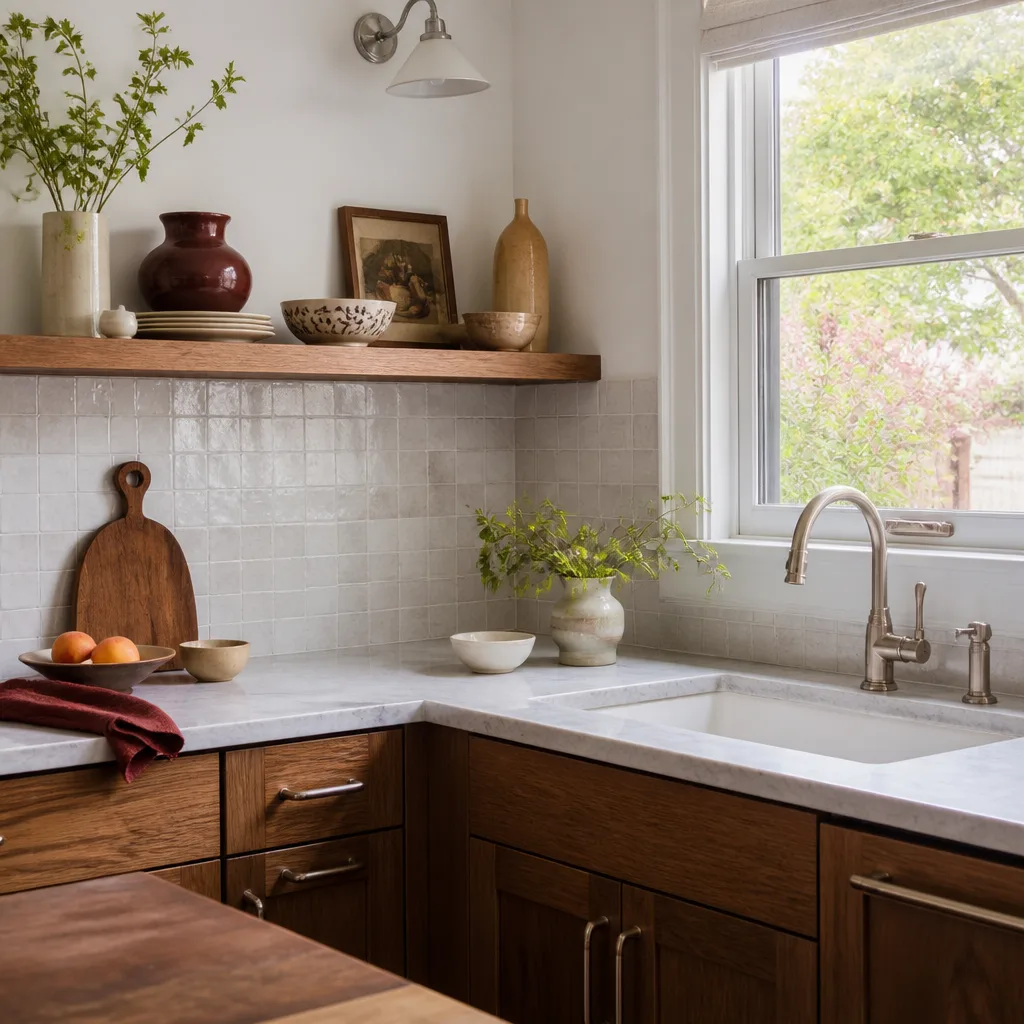
- Reseal natural stone if the drop test fails. Use an impregnating sealer, not a topical coating. A topical film shows scratches and wears unevenly on a kitchen countertop, whereas an impregnating sealer soaks into the stone and protects from the inside. Cambria and Caesarstone are engineered quartz and don’t need the same resealing routine as natural granite, but they do need regular cleaning with a non-abrasive, pH-neutral cleaner. Check the manufacturer’s care guide for the exact product list.
- Check cabinet hinges and drawer slides. Open and close every door and drawer. Tighten hinge screws with the correct bit (usually a #2 Phillips). European-style concealed hinges have adjustment screws that correct doors that have drifted out of alignment – a quarter turn on the right screw can fix a door that’s rubbing.
- Inspect cabinet finish near south- and west-facing windows. UV fades lacquer and stain over time, especially in direct desert sun. If you’re seeing finish wear or color variation on the side of a cabinet facing a window, think about a solar shade or window film as a preventive measure. It costs a lot less than refinishing.
- Clean the refrigerator condenser coils. Not strictly a remodel item, but a hard-working refrigerator pulls hot air next to your new cabinets and adds heat to the kitchen. A twice-a-year coil vacuum keeps it running efficiently and reduces the load on your ventilation.
- Check the anti-tip bracket on the range. If you can tip the range forward by pulling on the handle, the anti-tip bracket has failed or was never installed. This is a genuine safety device and it’s worth a look every six months.
If you hit a monsoon-season cabinet problem (doors that stick for a week and then free up) that’s often normal movement. If a door sticks permanently or a cabinet face shows a crack in the finish, that’s a different story.
The Annual Inspection: What a Contractor Checks That You Can’t
Once a year, plan an hour and walk the kitchen with the mindset of someone about to sell the house. If you can, have a professional look with you, because a trained eye picks up on items a homeowner reasonably wouldn’t.
- Check every caulk joint and grout line. Kitchen backsplashes, floor transitions, and the seam where the countertop meets the wall. Re-caulk where the bead has failed, and regrout any hollow-sounding tile or crumbly grout joint.
- Test GFCI outlets and cover plates. Monthly is best, but at minimum do a full sweep once a year, including testing any GFCI breaker in the panel. Loose cover plates and cracked plates are easy to overlook.
- Assess the water heater and shutoff valves under the sink. If the shutoff valves turn with difficulty or show corrosion around the stem, plan to replace them at the next service call. A failed valve during a plumbing repair turns a small job into a much larger one.
- Inspect the range hood and duct work. Confirm the damper flap opens when the hood runs, and confirm the exhaust terminates outside, not into the attic. If you smell cooking grease in the attic or garage after a long cook, the duct is either leaking or not connected.
- Look at the floor under the dishwasher. Slow leaks from a dishwasher supply line land on the floor first. A soft spot in the toe-kick or a dark ring on the floor under the unit needs a plumber, not a mop.
- Photograph everything. A dated photo library of your kitchen is your best record for a warranty claim, an insurance claim, or a future sale. This takes 15 minutes and costs nothing.
The annual inspection is also the right time to review your warranty documents. If you have our written guarantee on file, review what’s covered and what the callback timeline is (it’s the same visit, no fee). If you’re not sure what documentation you have, call us and we’ll pull it.
Paradise-Specific Factors: Hard Water, UV, and Monsoon Humidity
The paradise of the name doesn’t spare the kitchen. Three local factors drive more maintenance than anything else, and they don’t show up in generic remodeling guides.
Hard water. Paradise taps deliver water with enough mineral content to leave visible scale on faucet aerators, shower heads, and the inside of the dishwasher within weeks. The fix isn’t dramatic: soak the aerator in vinegar quarterly, run a citric-acid descaler through the dishwasher quarterly, and wipe fixtures dry after use. Faucets that stay wet grow mineral crust faster than dry ones, so a 30-second towel wipe after cooking extends the finish life substantially. Kohler, Moen, and Delta finishes are all durable, but they’re not immune to mineral etching.
UV exposure. This is where Paradise kitchens take a hit that kitchens in Seattle don’t. South- and west-facing windows get intense direct sun for a large chunk of the year, and cabinet finishes on the sun side fade faster than on the shade side. If you’re choosing cabinets now, mention sun exposure to the designer. KraftMaid and Wellborn both offer finish options with better UV stability, and window film or a solar shade is money well spent.
Monsoon humidity. The monsoon season is brief but real. Wood cabinet doors can swell slightly at the edges, drawers can stick for a few days, and wood floor seams that were tight in April can open a hair in July. This is normal movement and usually self-corrects. Don’t attack a sticking door with sandpaper during a humid week; wait until the season passes and see if the problem resolves.
If you’re planning a remodel around these realities from the start, our team can walk you through materials and finishes that fit the desert. Read more about how we work on the Penhallow Remodeling Paradise home page.
What Preserves Your Warranty and What Voids It
Warranties are fussy documents, and most homeowners never read them until they need one. The broad categories are worth knowing.
What preserves a warranty: using the manufacturer’s recommended cleaner, following the recommended resealing interval for natural stone, keeping written records of maintenance (dates and products), and reporting problems promptly. Every manufacturer we install for – KraftMaid, Wellborn, Cambria, Silestone, Caesarstone, Kohler, Moen – wants to see that the product was properly maintained. Records matter.
What voids a warranty: abrasive cleaners and scouring pads on natural stone, bleach on stone or grout, wax or silicone furniture polish on a factory cabinet finish, ammonia-based glass cleaner on cabinet doors, and failure to reseal stone on the recommended interval. On a quartz countertop, using an abrasive cleaner can permanently dull the surface and a manufacturer may decline a claim on grounds of misuse. On a wood cabinet finish, a silicone-based polish can cause the finish to crack or cloud over time. Read the care guide that came with each material and keep it in a folder.
Your installation warranty is separate from the product warranty. Our 365-Day Done Right Promise covers our work for a full year – if the installation fails, we come back and fix it at no charge. That’s distinct from what the manufacturer covers, and both are worth having in writing. If the two ever overlap on a specific repair, call and we’ll sort out who covers what. No fee, no service call.
DIY vs. Contractor Callback: Cost Benchmarks
Some tasks are obvious homeowner jobs. Some are obvious professional calls. The middle ground is where it helps to have real numbers so you know whether a quote is reasonable.
- Handle yourself: cleaning, aerator descaling, dishwasher descaler, cabinet wipe-downs, hinge and drawer screw tightening, filter cleaning, GFCI testing, water drop tests, sealer reapplication on natural stone (with the right product, it’s genuinely a homeowner job – roughly 30 minutes per countertop section).
- Get a professional for: any water leak, loose undermount sink clips, failed caulk joints at the countertop seam that keep returning, tile grout repair, electrical issues beyond a GFCI test, range hood duct problems, cabinet door alignment issues that don’t respond to adjustment screws.
Rough cost benchmarks in the Paradise-area market. These assume a call to a professional firm, not a handyman who works under the table.
- Undermount sink re-clip and reseal: typically $150 – $400 depending on whether the sink needs to be dropped and whether the caulk joint has to be cut out.
- Re-caulking the countertop-backsplash seam: typically $100 – $250 for a full run; more if the old caulk is failing across multiple sections.
- Re-grouting a backsplash section: typically $300 – $700 for a small batch, more if the tile needs to be reset.
- Cabinet door realignment: typically $100 – $200 for a service call covering multiple doors.
- Full kitchen maintenance inspection with a written report: typically $150 – $350.
If a quote lands well above these ranges, ask what’s driving the number. Sometimes there’s a good reason (a failing substrate, water damage, or a code issue that has to be corrected). Sometimes the number is inflated. Either way, a written quote before work starts gives you a document to compare.
Common Mistakes to Avoid
- Using wax or silicone polish on factory cabinet finishes. Most new cabinet finishes don’t need polish, and the wrong product can cloud the finish or interfere with future warranty claims. A damp microfiber cloth does more than a $15 bottle of polish ever will.
- Resealing natural stone on a yearly schedule in Paradise. The low desert humidity dries out sealer faster than a humid climate. Test with the water drop method every six months and reseal based on the test, not the calendar.
- Ignoring the caulk joint at the countertop-backsplash seam. Water behind a backsplash is a much bigger repair than a tube of silicone. That seam is the cheapest thing in the kitchen to maintain and one of the most expensive to fix.
- Letting hard-water scale build up on faucets and shower heads. In Paradise, fixtures that aren’t descaled quarterly get mineral crust that shortens aerator life and makes finishes look worn long before they are.
- Treating monsoon-season cabinet sticking as a permanent problem. Doors that swell during humid weeks frequently self-correct. Sanding during the humid period often creates a gap when the wood dries out, and that’s a worse outcome.
- Not keeping maintenance records. Homeowners who can produce a maintenance log have a much easier time with a warranty claim than those who can’t. A simple notes app on your phone is enough, but write it down.
- Skipping the anti-tip bracket check. A range that can tip forward is a genuine safety risk, and it takes ten seconds to check. Pull the handle. If the front feet lift, the bracket has failed.
See the difference
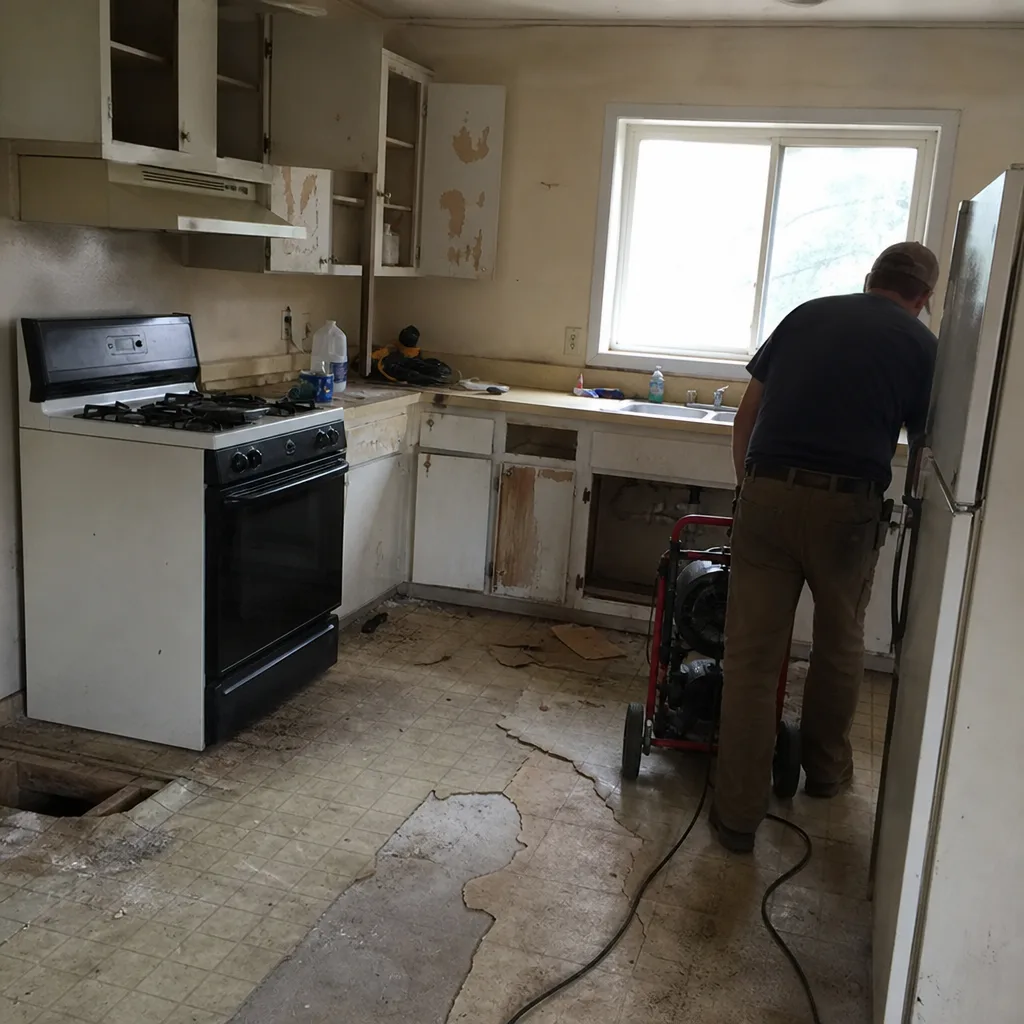 Before
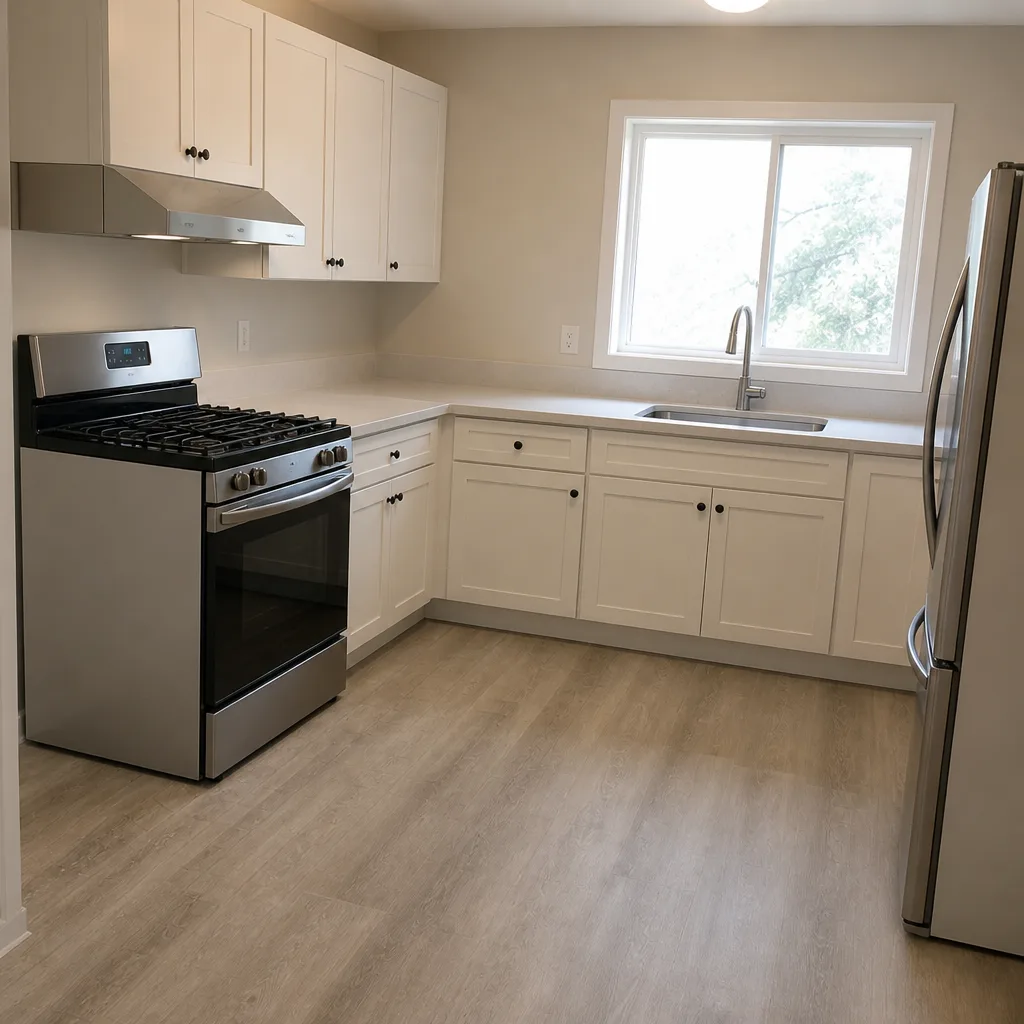 After
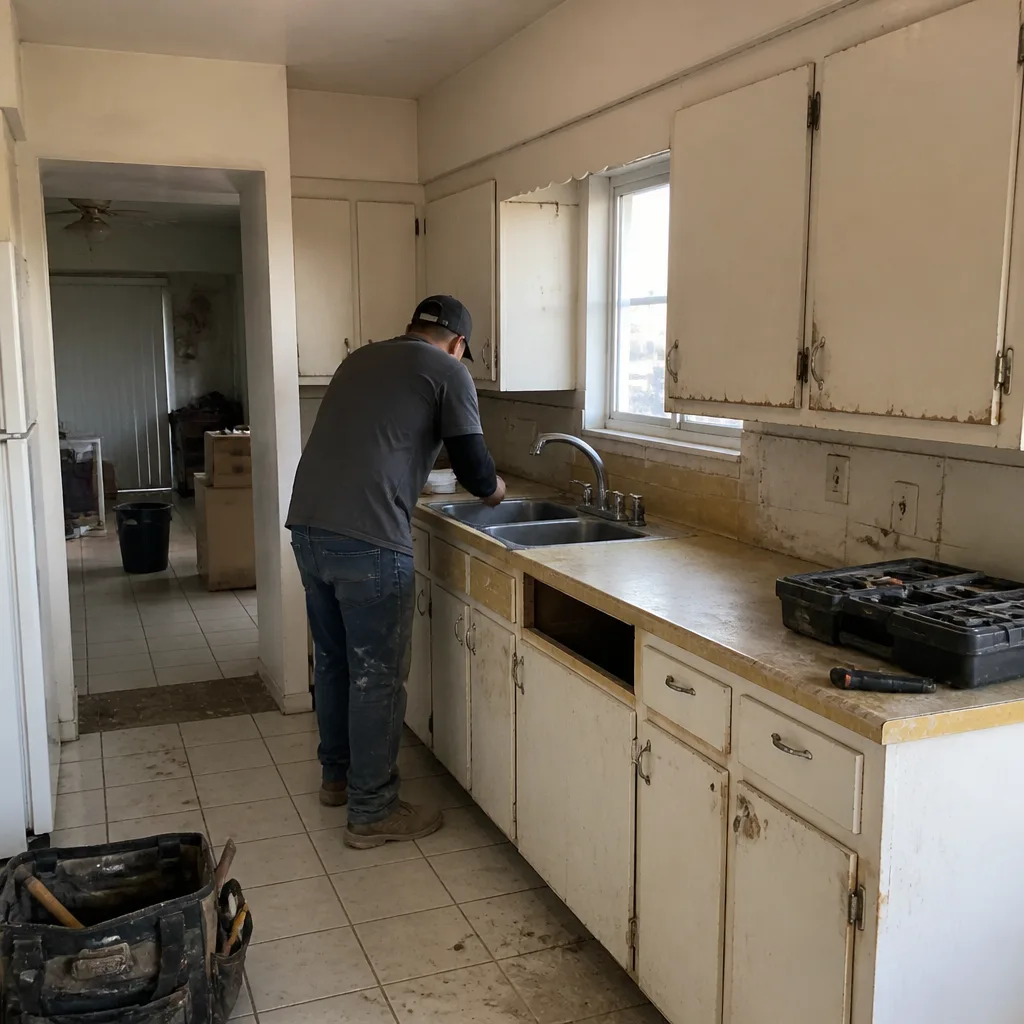 Before
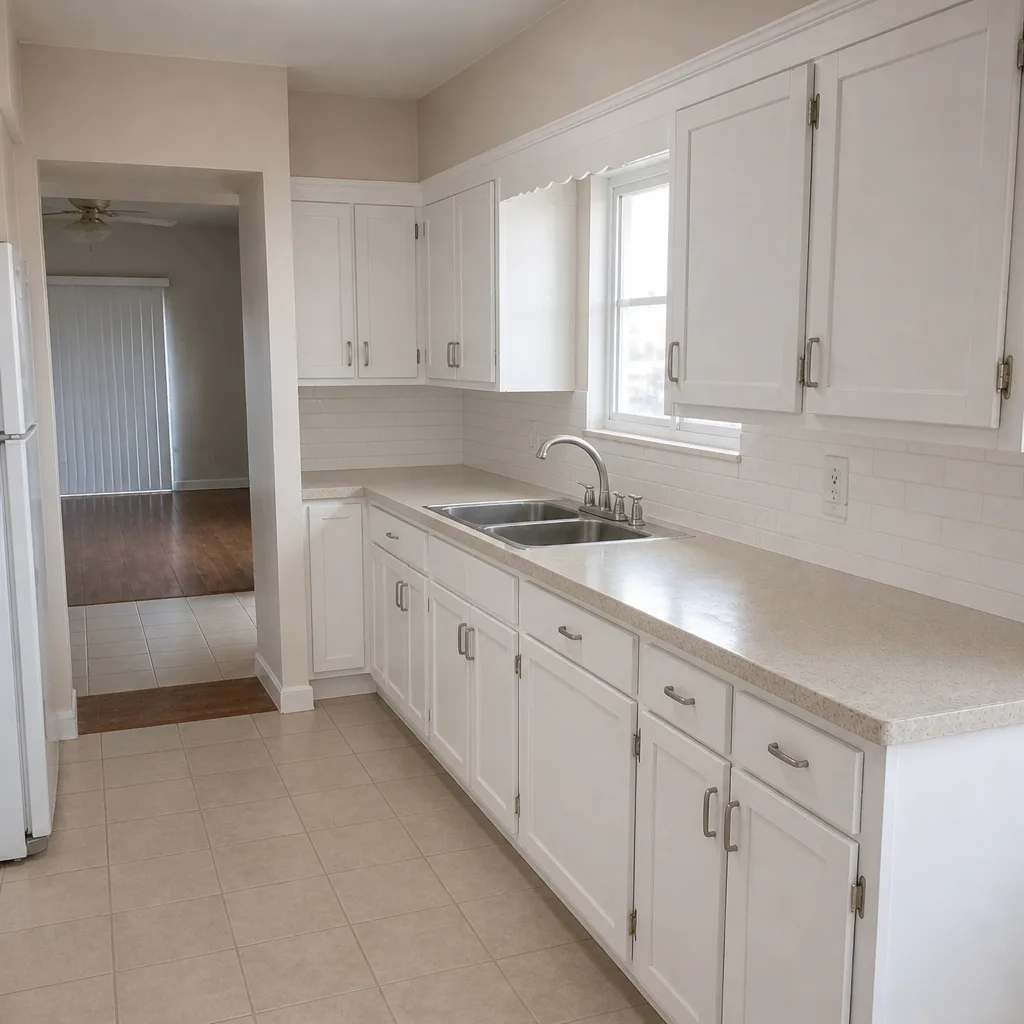 After
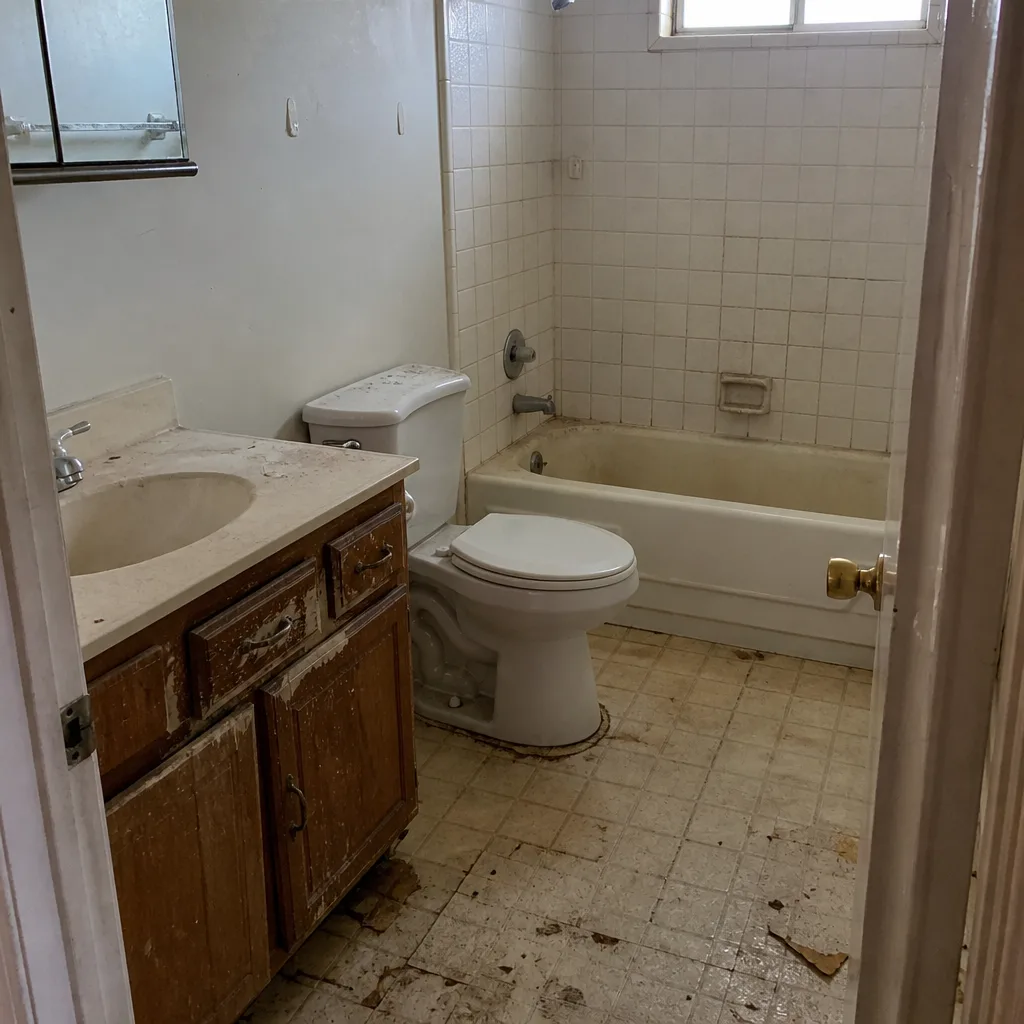 Before
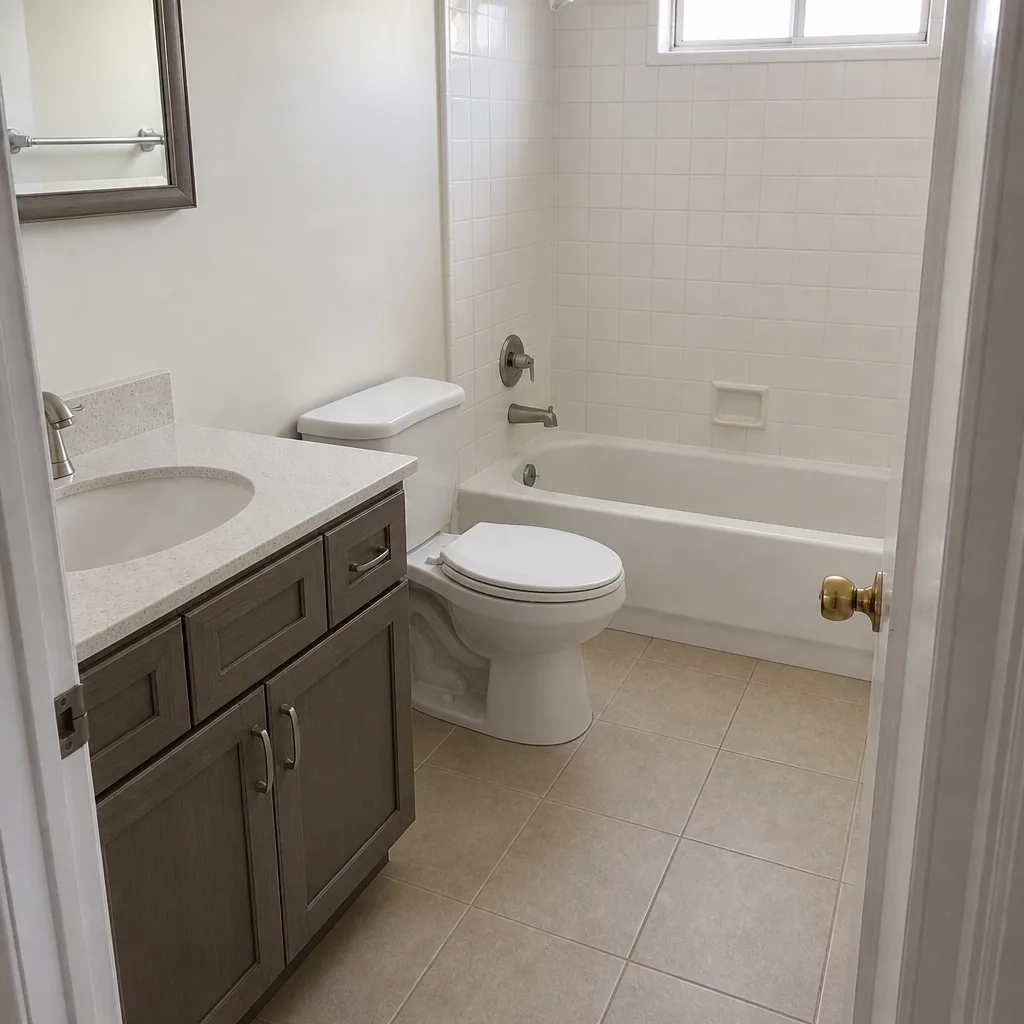 After
When to Call a Professional
Some maintenance items are genuinely a homeowner job. Others are a call, and trying to handle them yourself can cost more than the pro would have charged. Call a professional if you see water where water shouldn’t be (under the sink, at the dishwasher base, or behind a backsplash), if a caulk joint or grout line fails a second time after your own repair, if the undermount sink moves when you push on it, if a GFCI outlet trips repeatedly, or if a cabinet door sticks permanently after the monsoon season passes.
For anything involving the electrical panel, gas lines, or a structural repair, don’t work around it. Bring in someone who knows what they’re doing. Electrical and gas work is where the margin between a DIY job and a serious injury is thinnest, and a kitchen is not the place to test it.
Penhallow Remodeling Paradise offers free estimates in Paradise, and we’ll give you a written price before any work starts. If the maintenance visit turns into a repair, the number on day one is the number on the invoice. Call (844) 761-9837 to schedule your free estimate. A live person answers the phone, day or night.
If the repair leads to a wider change (say, a failing cabinet run that’s beyond saving) and you’re considering a bathroom project next, our Bathroom Remodeling in Paradise page covers how we handle those from written estimate to final walkthrough.
Frequently Asked Questions
Every 6 to 12 months in a Paradise kitchen, based on a water drop test rather than a fixed calendar. The low desert humidity pulls sealer out of natural stone faster than a humid climate does, so the annual reseal schedule that shows up in most guides is too slow. Do the water drop test every six months and reseal whenever water starts to absorb rather than bead. If resealing is the only item on your list, it’s a homeowner job with an impregnating sealer and 30 minutes per countertop section.
No. Bleach and other harsh cleaners can break down grout and sealant over time, and on natural stone they can etch the surface permanently. Use a pH-neutral tile and stone cleaner, a soft brush, and a light touch. If a grout line is showing mold or discoloration that doesn’t come off with a neutral cleaner, that’s usually a sign of a moisture problem behind the tile – call a professional to look at it. Estimates are free, and (844) 761-9837 reaches a live person any time.
Because wood expands and contracts with humidity, and the brief monsoon season pushes enough moisture into the air to make wood cabinet doors and drawer fronts swell slightly at the edges. This is normal movement in a desert climate, and it usually self-corrects once the dry weather returns. Don’t sand a sticking door during a humid week – wait until the season passes, and if the door still sticks, that’s when it’s worth having it looked at. Ordering custom cabinets through our Kitchen Remodeling in Paradise service means we also consider humidity control during the install.
Using wax, silicone polish, or ammonia-based cleaners on a factory wood finish is one of the most common warranty-voiding mistakes on kitchens we see. Most cabinet manufacturers (KraftMaid, Wellborn, and others) specify a simple damp-cloth cleaning routine, and they can decline a claim if the finish shows evidence of the wrong product. Read the care guide, keep it in a folder, and write down the date of any cleaner you use.
If the sink moves when you push upward on the bottom, or if you can see daylight or feel a gap between the sink rim and countertop edge, it needs a professional. Between the sides of the sink and the countertop there are mounting clips bolted to the underside – if they loosen or rust, the sink can drop. That’s not a job to patch yourself, because a dropped sink takes the plumbing with it. A pro clip-and-reseal visit in Paradise typically runs $150 – $400. Call (844) 761-9837 for an estimate.
Yes. Our technicians handle maintenance visits, repairs, and full-remodel projects, and our background-checked technicians show up in uniform and on a defined arrival window. We give a written price before any work starts, and our 365-Day Done Right Promise covers the work in writing for a full year. If the work fails inside that window, we come back at no charge. Call (844) 761-9837 to schedule a maintenance visit or free estimate in Paradise.
The Bottom Line
A kitchen remodel is not an asset that maintains itself. The countertop sealer, the caulk at the backsplash seam, the sink clips, the cabinet finish, the faucet aerator – all of it depreciates on a schedule, and the schedule in Paradise runs faster than the national average. Stick to a 30-day, 90-day, six-month, and annual routine, keep written records, and reserve the professional callbacks for the tasks that are worth it. Do that, and a kitchen you spend $18,000 – $55,000 on holds its value for the decade or longer you’re counting on. Skip it, and the sealer on your granite tells the story before you’re ready to hear it.
Our technicians have up to 22 years of experience, and every project gets a written price up front. Call (844) 761-9837 for a free estimate in Paradise – a real person answers, and estimates cost nothing.
Written by the team at Penhallow Remodeling Paradise.