
Last updated November 18, 2026








Free written scope consultation - allowances, timeline, and change-order rules on paper before a single trade is scheduled
Home Remodeling Maintenance Schedule: What to Do and When
Most maintenance guides tell you to “inspect your grout annually.” They never mention that in Paradise, NV, grout can crack within six months of installation because of our dry heat and the way the desert cools at night. Catching that hairline crack in April is a ten-minute fix with a tube of matching caulk. Catching it in September, after a monsoon pushed water behind loosened tile, is a $4,000 subfloor replacement. A maintenance schedule isn’t about keeping your home pretty. It’s about protecting the money you already spent on the last remodel. This guide gives you the month-by-month calendar we use, tied to Paradise’s specific climate, so the small stuff stays small.
Quick Answer
Homeowners in Paradise should inspect and maintain remodeled surfaces on a schedule tied to the desert climate: check caulk and grout every six months (April and October), reseal grout every 12 months, touch up painted drywall and tighten cabinet hardware annually, and inspect exterior trim and windows before and after the July-August monsoon window. The single most important step is documenting your remodel’s materials at installation so you know exactly what product to reapply years later.
Styles & brands we work with
- Kitchen remodeling
- Bathroom remodeling
- Home additions & ADU
- Roofing
- Windows & doors
- Driveway & pavers
- Fence
Table of Contents
- Why Your Remodel Needs a Schedule Tied to Paradise’s Climate
- The Month-by-Month Maintenance Calendar for Paradise Homes
- Which Surfaces Need Inspection, and How Often
- How to Document Your Remodel’s Materials (Do This First)
- Maintenance That Preserves a Warranty vs. Maintenance That Voids It
- Caulk and Grout: The $200 Fix vs. the $4,000 Mistake
- Your One-Page Printable Checklist
- Common Mistakes to Avoid
- When to Call a Professional
- Frequently Asked Questions
Why Your Remodel Needs a Schedule Tied to Paradise’s Climate
Paradise sits at roughly 2,000 feet in the Mojave, which means two climate stressors work against your remodel all year. The first is heat expansion. Summer temperatures in Paradise push past 105°F, and every material in your home – wood cabinets, vinyl flooring, cement board substrate (the moisture-resistant layer behind your tile), even the caulk line around your shower – expands in the afternoon and contracts overnight. The second is extremely low humidity. Where coastal homes deal with rot, Paradise homes deal with shrinkage. Wood dries, paint film cracks, grout pulls away from tile edges, and caulk loses adhesion faster than it would in a wetter climate.
Then comes the monsoon. July through mid-September, Paradise gets short, intense rain bursts that can drop an inch in an hour. That water finds every failed caulk joint and every hairline grout crack around your windows and exterior doors. We’ve seen monsoon water get behind window trim on homes that were remodeled less than a year before, because nobody checked the exterior seal in June.
The fix isn’t complicated. It’s timing. Inspect the surfaces that shrink before the dry season and again before the monsoon. That’s why our calendar anchors on April and October, with a hard checkpoint in June. If you’ve worked with our General Contractor in Paradise team, you already have the written schedule from your project – this guide is the ongoing version of it.
The Month-by-Month Maintenance Calendar for Paradise Homes
This is the calendar we hand homeowners after a remodel wraps. It’s built for Southern Nevada, not a national average, so the timing reflects our seasons rather than a generic “seasonal” list.
January through March
- January: Check cabinet hinges and drawer slides for loosening. Dry winter air plus indoor heating cycles hardware. A quick turn of a screwdriver now prevents a cabinet door from sagging.
- February: Inspect painted drywall in rooms you remodeled. Look along inside corners and above window frames for hairline cracks caused by winter contraction.
- March: Test every shower and tub caulk joint with a fingertip. Adhesion that feels soft or peels means the joint is failing; schedule resealing before April.
April (Spring Inspection)
- Walk every bathroom and reseal any caulk joint showing gaps or discoloration.
- Inspect grout lines in showers, backsplashes, and floor tile for cracks and pinholes.
- Check exterior door sweeps and weatherstripping before the heat climbs.
- Photograph anything that looks off and note the date. This is your maintenance record.
May through June
- May: Reseal natural stone and grout if your kitchen or bath has it. Sealer degrades faster under desert UV coming through windows.
- June: Pre-monsoon exterior check. Walk the perimeter and confirm window and door seals are tight. This is the single most important checkpoint of the year.
July through September (Monsoon Window)
- July: After the first heavy rain, inspect inside window frames and along exterior wall bases for moisture or staining.
- August: Recheck caulk around exterior windows; monsoon wind-driven rain stresses seals more than any other event.
- September: Inspect painted drywall near exterior walls for any bubbling or softness, an early sign of moisture intrusion.
October (Fall Inspection) through December
- October: Full interior inspection – grout, caulk, drywall, hardware, cabinet finish. This is the second anchor point of the year.
- November: Touch up any paint scuffs and reseal grout if your 12-month interval lands here.
- December: Year-end review. Note anything that failed or looked marginal and plan the fix for spring.
Which Surfaces Need Inspection, and How Often
Here’s where most homeowners get lost. They don’t know which surfaces have manufacturer-recommended inspection intervals because those intervals live in installation guides and product spec sheets, not in a brochure you’d ever read. Here’s the breakdown for the materials that come up most in Paradise remodels:
- Silicone and latex caulk joints: Inspect every six months. Replace when adhesion fails or the joint shrinks away from the surface. In Paradise’s dry heat, expect to replace more often than the two-year national average.
- Cement grout in showers: Inspect every six months. Reseal every 12 months. A quality penetrating sealer helps, but it isn’t permanent under desert UV.
- Painted drywall: Inspect annually, with quick spot-checks after monsoon rains. Touch up thin spots because paint is the first defense against moisture.
- Cabinet hardware (hinges, slides, pulls): Tighten every six months. Sagging cabinet doors are usually a loose hinge, not a failing cabinet.
- Countertops (quartz, granite, solid surface): Inspect annually. Cambria quartz and similar engineered stone don’t need sealing, but check the caulk line where the counter meets the backsplash.
- Flooring (tile, luxury vinyl, hardwood): Inspect annually for lifted edges, grout cracks, and movement at transitions. In Paradise, hardwood gaps at season changes are normal; gaps that stay open all year are not.
- Exterior window and door seals: Inspect twice a year, with at least one pass before monsoon. This is the highest-consequence check in the whole schedule.
If you don’t know what material is on a surface, that’s the first problem to solve. Which brings us to the most overlooked step in the whole schedule.
How to Document Your Remodel’s Materials (Do This First)
Every homeowner we work with in Paradise gets a materials log at project close. It’s a single page listing, for each surface, the exact product that was installed: the caulk brand and color, the grout brand and color, the paint color and sheen, the countertop material, the cabinet line. Without that log, you’ll spend an hour in a hardware store years later trying to match a grout color you can’t identify, and you’ll get it wrong.
If you don’t have a log from your remodel, here’s how to build one:
- Walk your home room by room and photograph each surface closely – caulk lines, grout, paint, hardware, flooring transitions.
- Ask whoever did the work for the product names. Get it in writing if you can.
- Store the log inside a kitchen cabinet where you’ll actually find it, or in the cloud with a note on your phone.
- Keep a small labeled box of leftover materials: a half-tube of caulk, a few extra tiles, one extra paint touch-up container. Ten dollars of leftovers saves a hundred-dollar color match later.
- Update the log every time you reseal, replace, or touch up, with the date and the product used.
When we finish a project, this log is part of what you keep, alongside your written guarantee. The Kitchen Remodeling in Paradise page explains how we hand off the documentation for cabinetry and countertops specifically, since those are the surfaces most homeowners ask about first.
Maintenance That Preserves a Warranty vs. Maintenance That Voids It
This is the part that costs homeowners thousands and almost never gets explained. Almost every manufacturer warranty – for flooring, countertops, cabinets, windows – includes a maintenance clause. Do the right maintenance and the warranty stays valid. Do the wrong thing and the warranty is void, even if the product failed through no fault of yours.
Two concrete examples:
- Flooring: Most luxury vinyl and engineered wood warranties require you to follow the manufacturer’s cleaning guidance and, in some cases, keep indoor relative humidity within a stated range. In a Paradise home, that means running a humidifier during the driest spring months may actually be a warranty requirement, not an optional nicety. Using the wrong cleaner (abrasive or oil-based on some vinyl) can void the finish warranty outright.
- Countertops: Cambria quartz and similar engineered stone don’t need sealing, and applying a sealer isn’t recommended. If your warranty says “no sealant required,” applying one anyway can create a finish problem that falls outside warranty coverage. Granite, on the other hand, may need periodic sealing to stay covered. The right move depends entirely on the specific material, which is why the materials log matters.
The pattern: maintenance that preserves a warranty uses the product the manufacturer specifies, on the interval they specify. Maintenance that voids it uses a different product, applies a treatment the manufacturer advises against, or lets an issue go unreported until it’s beyond the covered failure window. Read the warranty sheet for any material installed in your remodel. If you didn’t get one, ask – you’re entitled to it.
Caulk and Grout: The $200 Fix vs. the $4,000 Mistake
We’ve seen this exact failure more times than we’d like. A homeowner in a Paradise neighborhood calls about a small soft spot in the floor near a shower. We pull the tile and find the cement board substrate soaked, the framing softened, and the fix now runs into the thousands. The failure started with a caulk joint that pulled away six months after install and was never re-inspected. That’s the whole story.
Here’s the math that matters:
- Caulk re-inspection and resealing: Roughly $20 to $60 in materials if you do it yourself, or a small service call if you’d rather not – easily under $200 either way.
- Grout re-inspection and spot repair: Similar range. A tube of color-matched grout and a weekend afternoon.
- Tile and substrate replacement after water intrusion: Typically $2,000 to $4,000 for a shower or a floor section, depending on square footage and whether framing needs repair.
The fix is cheap. The failure is expensive. And the timing is what makes it either one. In Paradise, the April and October inspections catch caulk and grout problems before the dry season widens them and before the monsoon drives water through them. If you’ve remodeled a bathroom and want to understand what your tile and substrate can and can’t survive, our Bathroom Remodeling in Paradise team can walk you through it on a free estimate visit.
Your One-Page Printable Checklist
The problem with most maintenance guides is that they live online, where you never look at them. This version is written to be printed, folded, and taped inside a kitchen cabinet or the hall closet. Keep it short enough to actually use:
Every 6 Months (April & October)
- Inspect and reseal bathroom and kitchen caulk joints
- Check grout lines for cracks and pinholes
- Tighten cabinet hinges and pulls
- Check interior drywall corners for new cracks
Once a Year (October)
- Reseal grout (showers, backsplash, floor tile)
- Touch up paint on drywall scuffs and thin spots
- Check flooring transitions and lifted edges
- Inspect countertop caulk lines
Before Monsoon (June)
- Walk exterior perimeter: window seals, door sweeps, trim caulk
- Confirm no gaps above or beside exterior doors
- Photograph any suspect area with the date
After Heavy Rain (July – September)
- Check interior window frames for moisture or staining
- Look for bubbling paint near exterior walls
- Note any soft spots at flooring near entries
Tape this up. Write the date on it every time you complete a pass. That written record is what proves maintenance was done, and it’s what protects any warranty claim down the road.
Common Mistakes to Avoid
- Treating the schedule as “check everything seasonally.” Vague checklists get skipped. Specific dates – April, June, October – get done, and specific dates match Paradise’s climate cycle.
- Skipping the pre-monsoon exterior check. This is the single most consequential inspection of the year in Paradise. Miss it and the monsoon does the rest.
- Using the wrong product for touch-ups. Silicone over latex caulk, or a sealer on a countertop whose manufacturer says no sealant, both cause failures. Match the product to the material, every time.
- Throwing away leftover materials. A half-tube of matching caulk or one extra floor tile is worth more than it costs. Keep it labeled.
- Ignoring a hairline crack because it looks minor. In Paradise’s dry heat, small cracks widen over a single season. A month’s delay can double the repair.
- Not keeping a written record. Manufacturer warranty claims frequently require proof of maintenance. Without a dated log, you’re arguing from memory.
- Letting cabinet hardware go loose for years. A sagging door is a $0 screwdriver fix or a $150 hinge replacement once the wood is damaged.
When to Call a Professional
Some maintenance is a homeowner task. Some isn’t. Call a professional when you find moisture staining or softness near an exterior wall, when grout cracking runs along a whole wall rather than one joint, when a cabinet carcass has separated from the wall, or when monsoon water has gotten behind window trim. Those are signs the issue has moved past surface sealant and into the substrate. Don’t guess at structural damage in the desert climate where it’s easy to miss. Penhallow Remodeling Paradise offers free estimates in Paradise – call (844) 761-9837 – and you’ll get a written price before any work starts, not a verbal ballpark. Our technicians have up to 22 years of experience with exactly these repairs, and every job carries the 365-Day Done Right Promise, so if a repair fails inside the first year, we come back and fix it at no charge.
Frequently Asked Questions
Reseal grout about every 12 months in Paradise, and inspect it every six months. Our dry heat and intense sun break down penetrating sealers faster than in wetter climates, so a yearly reseal is the realistic interval rather than the two-year figure you’ll see in national guides.
June, right before the monsoon window. That’s when a quick check of window seals, door sweeps, and exterior trim prevents the water intrusion that causes most remodel failures in Paradise. April is second most important for interior caulk and grout.
Not if you use a penetrating sealer the material manufacturer recommends. It can void coverage if you apply a product the manufacturer advises against – some engineered stone countertops, for example, shouldn’t be sealed at all. Check the warranty sheet first, and use the product named there.
You should have a materials log from your contractor listing product names for caulk, grout, paint, countertops, and cabinetry. If you don’t have one, photograph each surface, ask whoever did the work for the product names, and keep leftover materials labeled in a box.
Because of the heat-expansion and low-humidity cycle. Caulk stretches in 100°F-plus afternoons and shrinks overnight, which pulls it away from surfaces faster than in a stable climate. That’s why the six-month inspection interval exists here instead of a two-year one.
Yes. A grout crack lets monsoon water or shower moisture reach the cement board substrate behind the tile. Once that substrate softens, the tile and substrate typically have to be replaced, which runs $2,000 to $4,000 for a shower or floor section. A tube of grout and a reseal costs under $60.
The Bottom Line

Your maintenance schedule isn’t decorative. It’s the insurance policy on the remodel you already paid for. Inspect caulk and grout every six months, reseal annually, run a hard exterior check before the Paradise monsoon in June, and keep a dated record of everything you do. Build a materials log now so you know what product to use years from now. When something has moved past surface sealant and into the substrate, call us. Penhallow Remodeling Paradise gives you a written price before any work starts, background-checked and uniformed technicians on every job, and the 365-Day Done Right Promise in writing. Call (844) 761-9837 for a free estimate and we’ll help you build the maintenance plan that fits your home.
Written by the team at Penhallow Remodeling Paradise.
See the difference
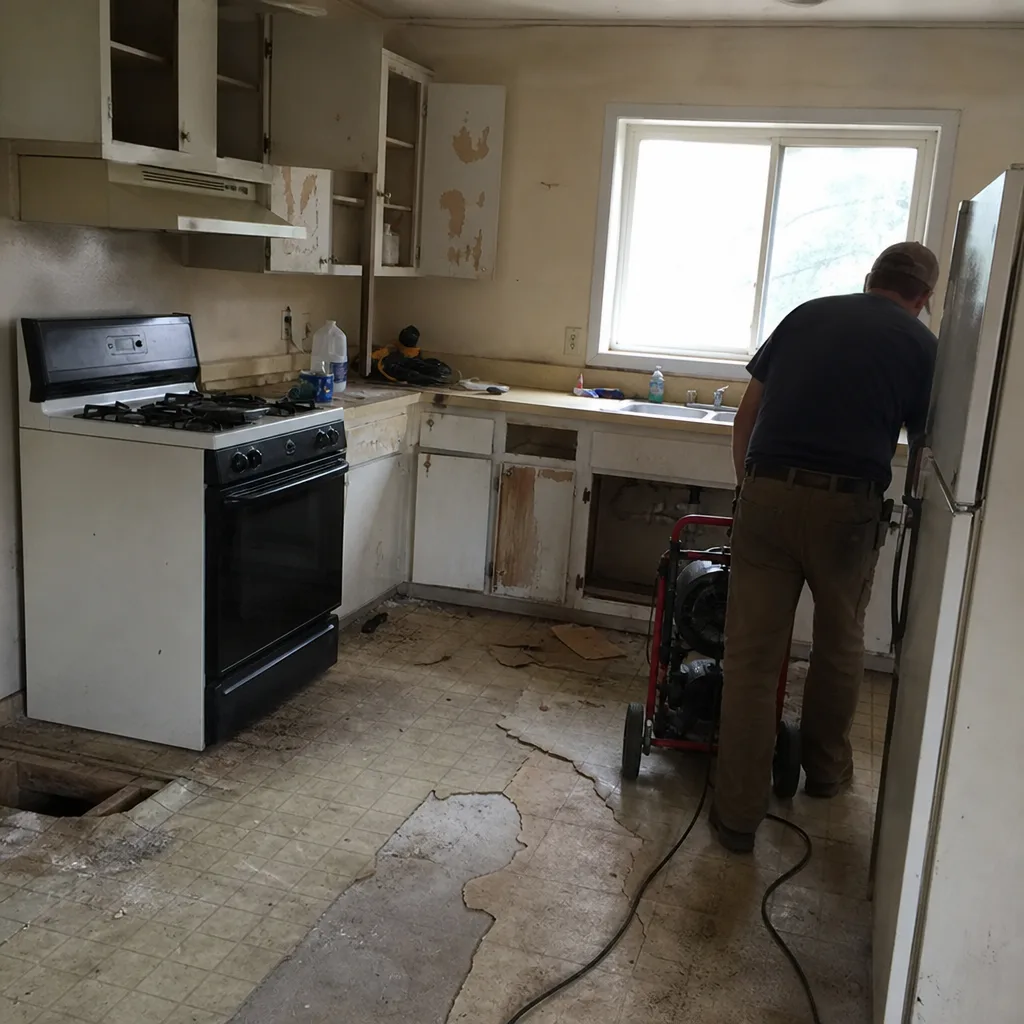 Before
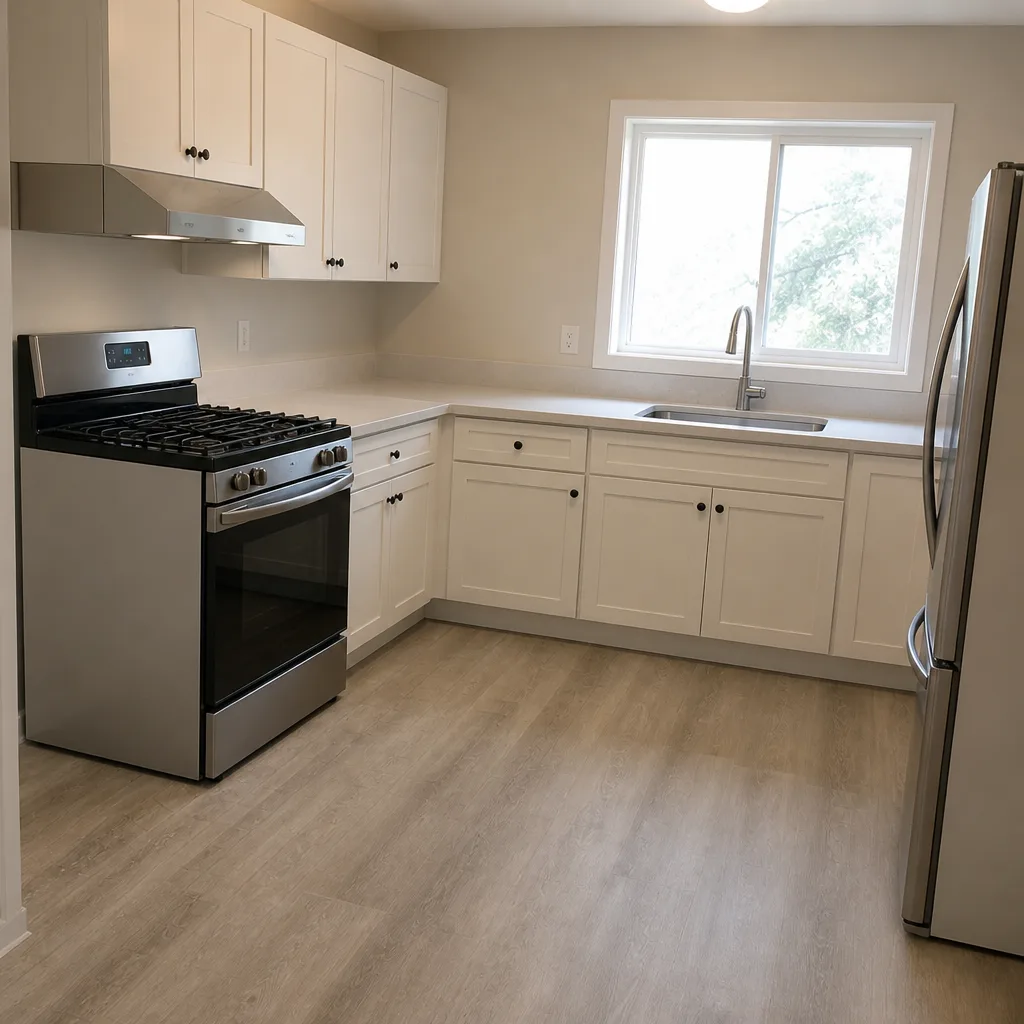 After
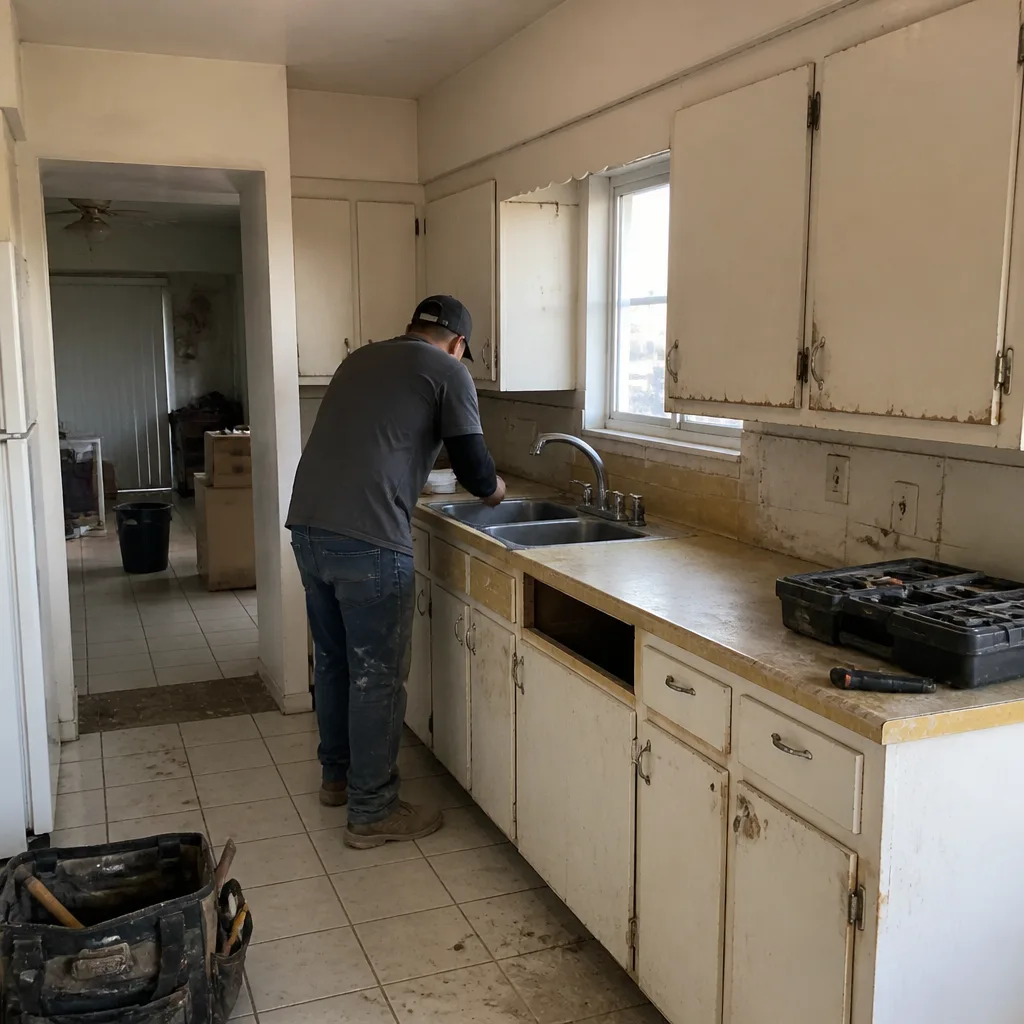 Before
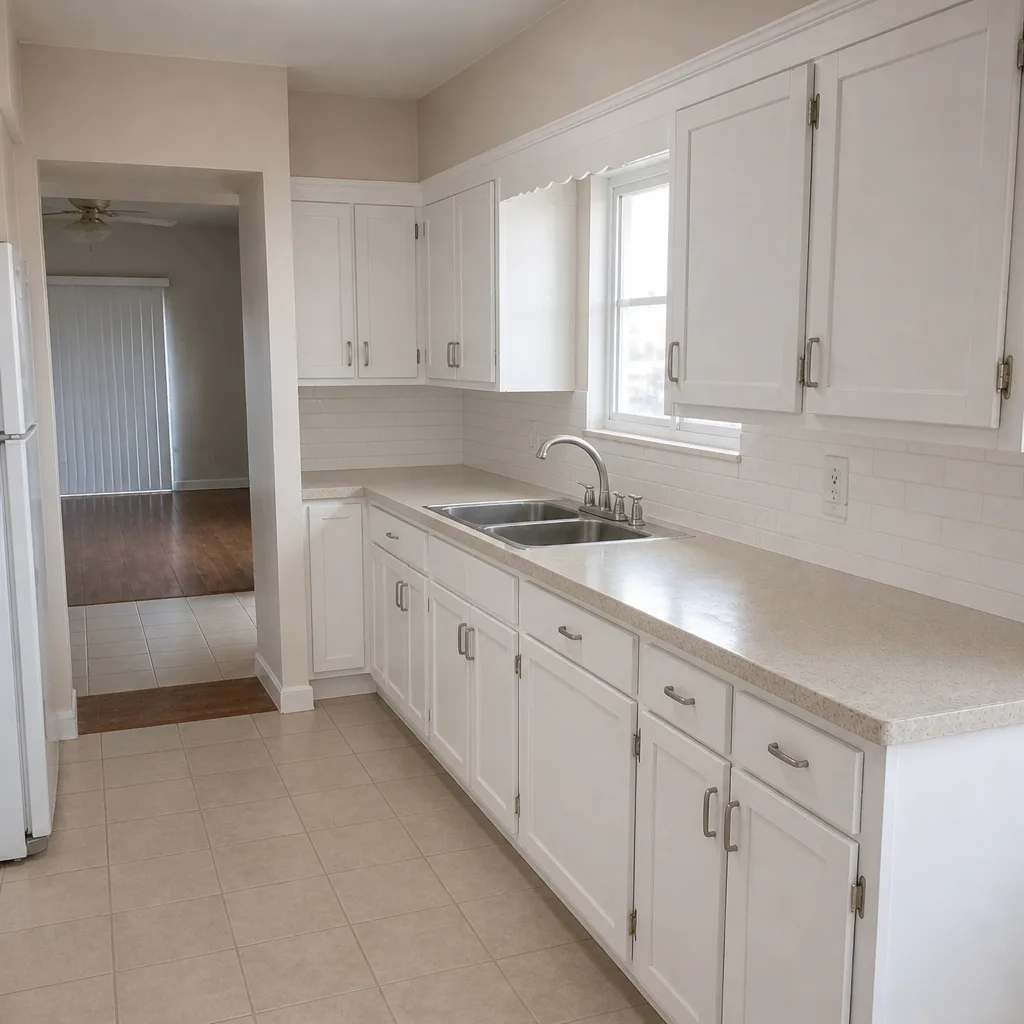 After
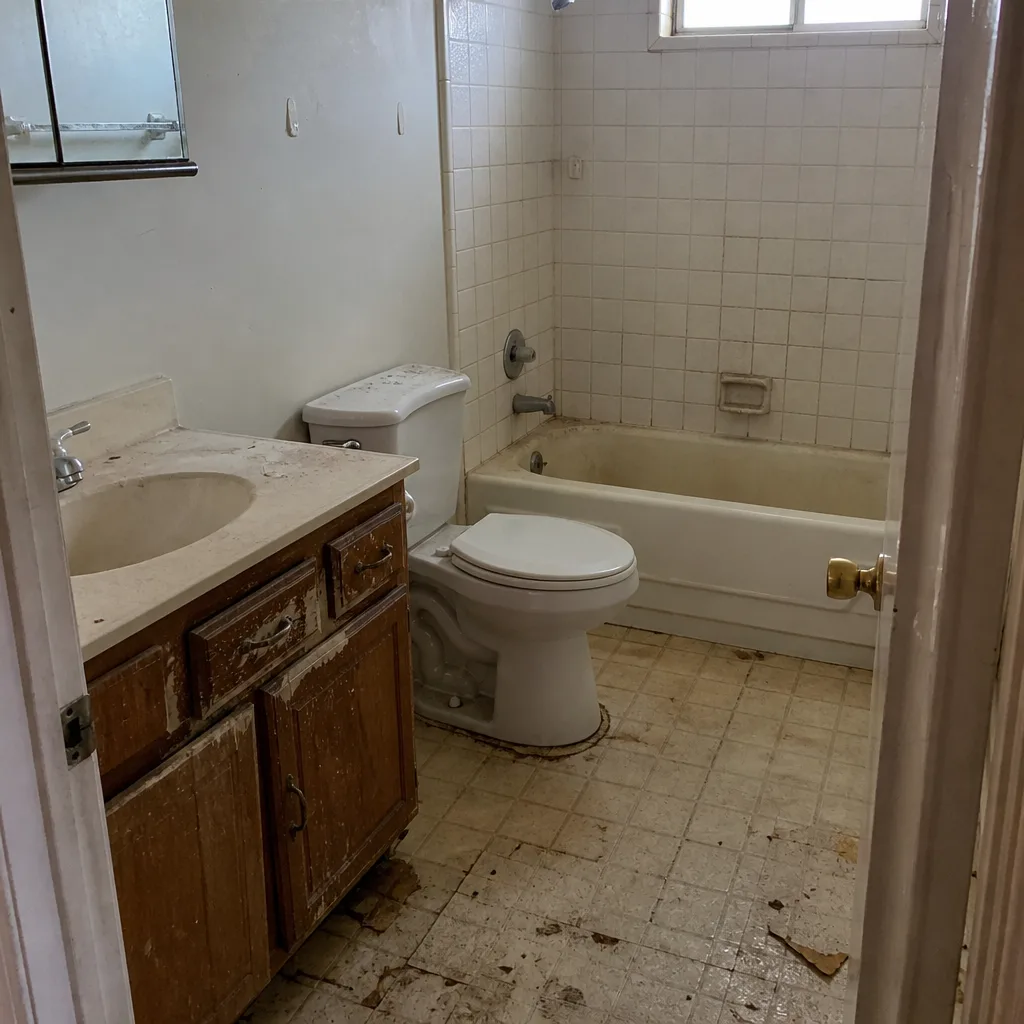 Before
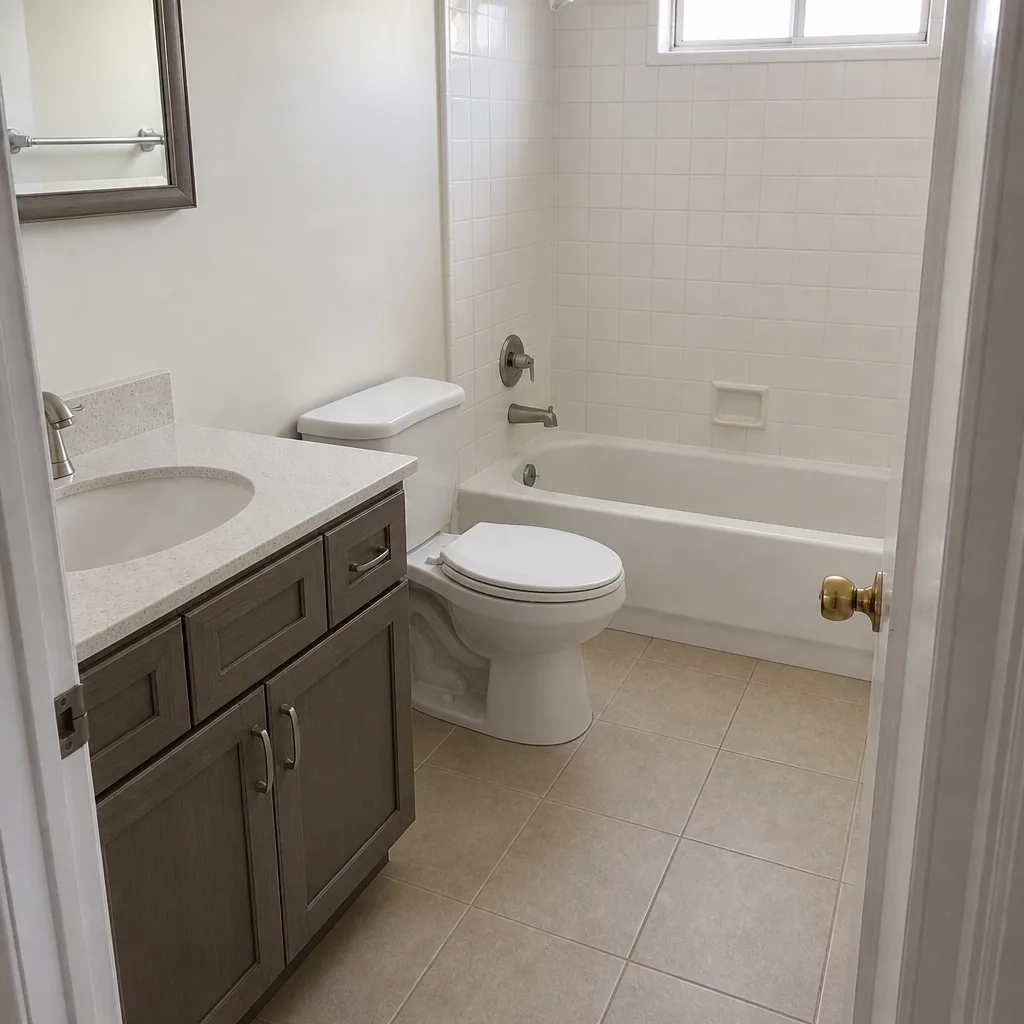 After