Last updated November 18, 2026







Free written scope consultation - allowances, timeline, and change-order rules on paper before a single trade is scheduled
Bathroom Remodeling Troubleshooting: Common Problems and How to Fix Them
Grout cracking along the floor-wall joint in a tiled bathroom is almost never a grout problem. It’s a movement joint problem, and a contractor who re-grouts it instead of installing flexible caulk will have you calling again in eight months. In our experience across Paradise remodels, the same handful of failures show up again and again, and nearly every one traces back to a single installation decision made months earlier. Hard water, sharp desert temperature swings, and a bathroom that runs steamy every morning just accelerate what was already there. This guide walks you through the five failures Paradise homeowners see most, how to tell a workmanship defect from ordinary wear, what to photograph before you call anyone, and which fixes are safe to handle yourself and which need the wall opened.
Quick Answer
Most bathroom remodeling problems that surface within the first year come from installation decisions, not material defects: rigid grout where a flexible joint belonged, missing or failed waterproofing behind tile, a fan vented into the attic instead of outdoors, or caulk applied over a wet, dirty surface. Diagnosing which one you’re looking at starts with where the symptom appears and how long after the remodel it showed up. If the problem traces to how something was installed, it belongs to the contractor under warranty. If it traces to hard water and use patterns, it’s maintenance.
Styles & brands we work with
- Kitchen remodeling
- Bathroom remodeling
- Home additions & ADU
- Roofing
- Windows & doors
- Driveway & pavers
- Fence
Table of Contents
- Substrate delamination and moisture behind the tile
- Grout joint cracking at corners and floor-wall transitions
- Caulk separation around tubs, showers and fixtures
- Exhaust fan condensation backflow and steam that won’t clear
- Fixture seal failure at the toilet base, supply lines and drains
- Hard water staining, etching and film: cleaning vs. sealant failure
- How to raise a defect claim the right way
- What you can fix yourself and what needs a contractor
Substrate Delamination and Moisture Behind the Tile
Substrate is the layer behind your tile, and in a wet area it needs to be something that doesn’t swell or crumble when it gets damp. Cement board or a bonded waterproof membrane is the standard. When drywall or greenboard was used instead, or when the waterproofing was skipped at the seams and corners, moisture gets behind the tile and the layers begin to separate. In Paradise’s dry air you won’t always see it right away, but the early symptoms are clear once you know them.
What to look and feel for:
- A hollow sound when you tap tile with a plastic screwdriver handle, especially low on the wall or around the shower valve
- Grout lines that look darker in one zone than the rest, or that stay dark long after a shower
- Tile that flexes slightly under thumb pressure at a corner
- A musty smell that doesn’t clear when the fan runs
- Efflorescence, a white powdery bloom, along the bottom course of tile near the floor
Delamination is not a maintenance item. It’s a waterproofing failure, and it needs someone qualified to open the wall and look at what’s behind the tile. Because this one involves cutting into finished surfaces and re-establishing the waterproof layer, it falls outside what a homeowner should attempt. The good news is that when the original work was done to standard, our technicians have up to 22 years of experience spotting the difference between a localized seam failure and a system-wide problem before tearing out more than necessary. If the failure traces to installation, it belongs to the contractor. For scope questions on a Paradise bathroom project, our Bathroom Remodeling in Paradise page covers how we approach waterproofing.
Grout Joint Cracking at Corners and Floor-Wall Transitions
Grout is rigid. Buildings move. That mismatch is the entire story behind most cracked grout lines, and it’s why the corners of a shower and the joint where tile meets the floor should never be grouted at all. They should be filled with a flexible sealant matched to the grout color. When a contractor grouts those joints anyway, the seasonal expansion in a Paradise home works against a material that can’t flex, and the crack appears within months.
How to tell the two kinds of cracking apart:
- Hairline cracks radiating from a corner or running along the floor-wall joint. This is a movement joint that was grouted instead of sealed. It’s a workmanship issue.
- Spider cracks across the center of a tile or field of grout. This usually points to movement under the substrate, or to tile installed without enough thinset coverage. Get it inspected.
Re-grouting a movement joint is a temporary fix that fails again. The correct repair is to rake out the old grout at the joint and replace it with a flexible caulk or sealant designed for wet areas. That’s a reasonable homeowner task on a small joint. What isn’t reasonable is deciding on your own whether a corner crack is cosmetic or a sign the waterproofing is compromised underneath. Hard water in Paradise makes the crack look worse than it is because minerals collect in the line. Call (844) 761-9837 for a free estimate if you’re unsure which one you have.
Caulk Separation Around Tubs, Showers and Fixtures
Caulk pulls away for two reasons: it was applied over a damp or dusty surface, or it was the wrong caulk for a wet area. Silicone or a quality siliconized sealant adheres and flexes. Painter’s caulk, which is fine along a baseboard, has no business in a shower. In Paradise, the other common culprit is the sequence of a remodel: caulk applied before the tub or shower surround finished settling, so a small shift opens the bead.
Symptoms of a caulk failure versus a deeper leak:
- Caulk failure: the bead lifts cleanly from the surface, or separates in a straight line along the tub edge, with dry material underneath.
- Deeper leak: the caulk line stays wet after the fan runs, the wall below is soft or stained, or you see water at the baseboard on the other side.
Recaulking a tub edge is a legitimate DIY repair. Remove the old bead completely, clean and dry the surface for a full day, then apply a 100% silicone or quality siliconized caulk and let it cure as labeled. What you should not do is caulk over a wet line or a soft wall. That traps moisture and turns a small repair into a substrate job. If you find yourself recaulking the same line every few months, the joint is moving more than a bead can absorb, and it’s worth having someone look at it.
Exhaust Fan Condensation Backflow and Steam That Won’t Clear
An exhaust fan that runs but doesn’t clear the mirror is usually a ducting problem, not a fan problem. The two failures we see most in Paradise remodels are ducting terminated in the attic instead of routed to the exterior, and a duct run that’s too long, too pinched, or full of low spots where condensation collects. Warm moist air hits the cooler duct in a desert attic at night, condenses, and runs back toward the fan. That’s the drip or the water stain on the ceiling you’re seeing.
What to check before calling anyone:
- Hold a tissue to the grille while the fan runs. If the tissue barely moves, airflow is restricted.
- Look for a damper flap at the fan or roof cap that may be stuck closed or clogged with dust.
- Go into the attic if you can safely, and confirm the duct runs to a roof or wall cap, not just ending in the insulation.
- Listen for a change in pitch at the fan. A screaming or grinding motor is a separate failure and the fan should be replaced.
If the duct is the problem, correcting it means working in the attic and at the roof penetration, and the fan may need to be replaced with one sized correctly for the room. For a Paradise bathroom, a small fan on a long run often can’t move the air the room needs. That’s a job for a licensed contractor, not a weekend project. Our General Contractor in Paradise team handles this kind of correction regularly.
Fixture Seal Failure at the Toilet Base, Supply Lines and Drains
A toilet that rocks slightly, a faint odor near the base, or a soft spot in the floor around it are all signs of a failed seal, and in Paradise this failure gets more common as floors installed over a slab settle or the original flange sat a touch high or low. The wax ring and the flange beneath it create the seal, and once it fails, water finds its way into the subfloor and the framing below.
Signs it’s the seal and not the toilet:
- The toilet rocks when you lean on the bowl, and the flange wasn’t shimmed and tightened at install
- A ring of staining or a soft spot on the floor around the base
- Sewer smell that lingers in a bathroom that’s otherwise well vented
- Water beads on a supply line fitting when you wipe it dry and check again
Replacing a wax ring is a job a confident DIYer can take on, but the moment you find soft subfloor, cracked porcelain at the base, or a flange that’s broken or below the finished floor, stop and call a professional. That’s a repair that has to address the floor and flange, not just the ring. Supply line leaks are similar: a loose fitting may just need snugging, but a leaking angle stop or a corroded valve behind the wall is not a place to improvise. Kohler and Moen fixtures we install close up cleanly when the joint is set correctly, and most leaks we’re called to trace back to installation, not the fixture.
Hard Water Staining, Etching and Film: Cleaning vs. Sealant Failure
Paradise water is hard, and that changes how a bathroom ages. Mineral film collects on glass, grout, and polished stone, and over time it can etch natural stone and dull a factory finish on tile. The trick is telling common mineral buildup from a genuine failure of the sealant or the tile. Both look like a dull patch. Only one is covered under warranty.
How to tell them apart:
- Cleaning problem: the film comes back slowly, sits on the surface, and lightens when you treat a small test patch with a mild acidic cleaner made for the material.
- Sealant failure: the film doesn’t lift after cleaning, the grout stays dark and absorbs water, or a glass shower panel shows etching in the shape of drip lines. Etching means the surface itself is damaged and cleaning won’t undo it.
The fix for the first is routine: a squeegee after every shower, a periodic descaling cleaner, and a grout sealer re-applied on the schedule the product calls for. The fix for a true stone-or-glass failure is re-polishing or replacing the panel. If you’re not sure which you’re looking at, don’t reach for an aggressive acid product. Stone and natural tile can be permanently damaged by the wrong cleaner. Ask us first, or call (844) 761-9837, and we’ll help you figure out which one you have. When we install Cambria or Silestone counter tops in a bathroom vanity, the surface carries its own warranty alongside the workmanship, and it holds up well against Paradise hard water when it’s cleaned for the material.
How to Raise a Defect Claim the Right Way
A written guarantee is only as useful as the process behind it. When something fails inside the guarantee period, the fastest path to a real fix is raising it the right way. Here’s how we ask homeowners to do it, and this is how a contractor with a genuine guarantee expects to hear from you.
- Document the symptom before you touch anything. Photograph the failure close up and in context, so a corner crack is shown with the whole shower, and the soft spot at the toilet base is shown with the toilet in place.
- Note the timeline. When you first noticed it, what you were doing, and whether it’s changed. A problem that appeared the week of a cold snap tells a different story than one that showed up the day the tile was set.
- Describe it in plain language. “The grout along the floor-wall joint in the guest shower is cracked and the floor feels slightly soft under the tile near the drain” is a usable report. Photos plus a plain description gets a fast answer.
- Ask for the warranty terms in writing. A real guarantee names what’s covered and what isn’t. Under our 365-Day Done Right Promise, if the work fails inside the guarantee period, we come back and fix it at no charge, and that’s in writing on every project.
- Hold the number. A written price before work starts is what you should be able to hold a contractor to if work gets reopened. This is the Kingswell Way in practice: say the price before the work, show up in the window we gave, and leave the place cleaner than we found it.
Most claims we see are resolved in a single visit. If a repair fails, there’s no service call and no re-inspection fee; the second visit is on us. That’s the difference between a guarantee and an understanding.
What You Can Fix Yourself and What Needs a Contractor
Not every problem is a phone call. A homeowner who knows the difference saves money and gets the small stuff handled on a Saturday morning. The challenge is knowing where the line is.
Reasonable DIY repairs:
- Replacing a caulk bead at a tub edge, after the joint is fully cleaned and dried
- Re-sealing grout with a sealer rated for the material
- Descaling hard water film with a cleaner made for the surface
- Replacing an exhaust fan grille and clearing dust from the grille and damper
- Tightening a loose toilet seat bolt or a rocking toilet that has a sound flange
Problems that need a licensed contractor to look at it:
- Any delamination or hollow tile, which means opening the wall and rebuilding the waterproofing
- Soft subfloor around a toilet or a broken flange
- An exhaust duct that ends in the attic or needs a new roof penetration
- Cracked grout across a tile field, a sign of movement under the substrate
- Etched natural stone or a shower panel that’s had the finish damaged
This is a good place to say plainly: opening a wall around plumbing or doing work that requires a permit is not a homeowner skill. It’s how a $300 repair becomes a $3,000 one. The local pros we connect homeowners with are licensed and insured as their state requires, and our technicians are background-checked and arrive in uniform. If you’re unsure where a problem lands, call and describe it. For a broader look at how a whole-home project gets scoped, our Penhallow Remodeling Paradise home page and our Kitchen Remodeling in Paradise guide show the same written-price-first approach we apply to every room.
Common Mistakes to Avoid
- Caulking over wet or dusty surfaces. It looks fixed for a few weeks, then peels exactly as before. Dry and clean the joint first, every time.
- Re-grouting a movement joint. If a corner crack comes back every six to eight months, the joint needs flexible sealant, not more grout.
- Running the exhaust fan into the attic. Warm air hits the cool duct in a Paradise attic at night and condenses; the duct has to terminate outside.
- Using an acid cleaner on natural stone without checking first. Hard water film and etching look alike, but the wrong cleaner can pit a stone vanity permanently.
- Ignoring a slightly rocking toilet. A rocking toilet is usually a failed wax seal, and the soft subfloor underneath doesn’t fix itself.
- Hiring on a verbal number. A verbal estimate that changes after demo is the reason most homeowners who call us are calling the second time. A written price before work starts prevents it.
- Not photographing the failure. A warranty call goes faster with a photo and a plain description than with a verbal report. Document before you touch anything.
See the difference
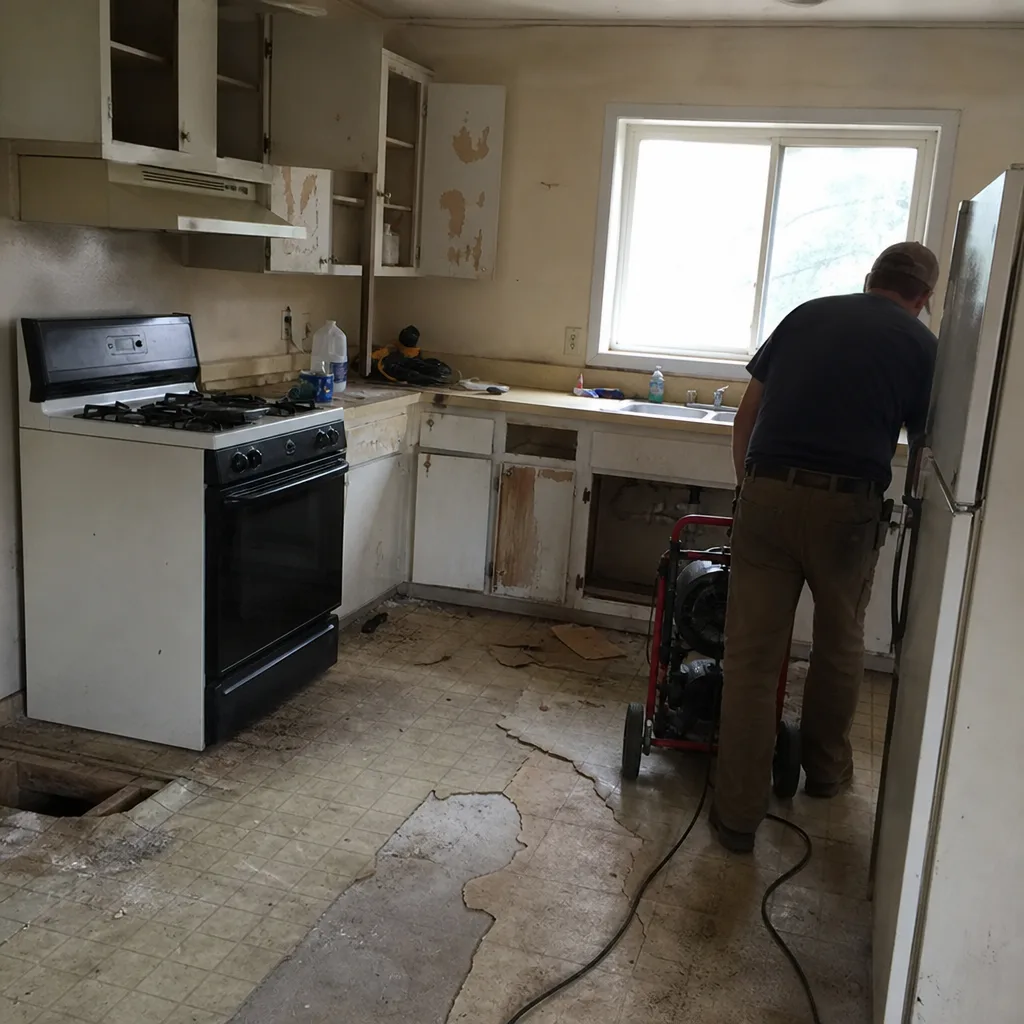 Before
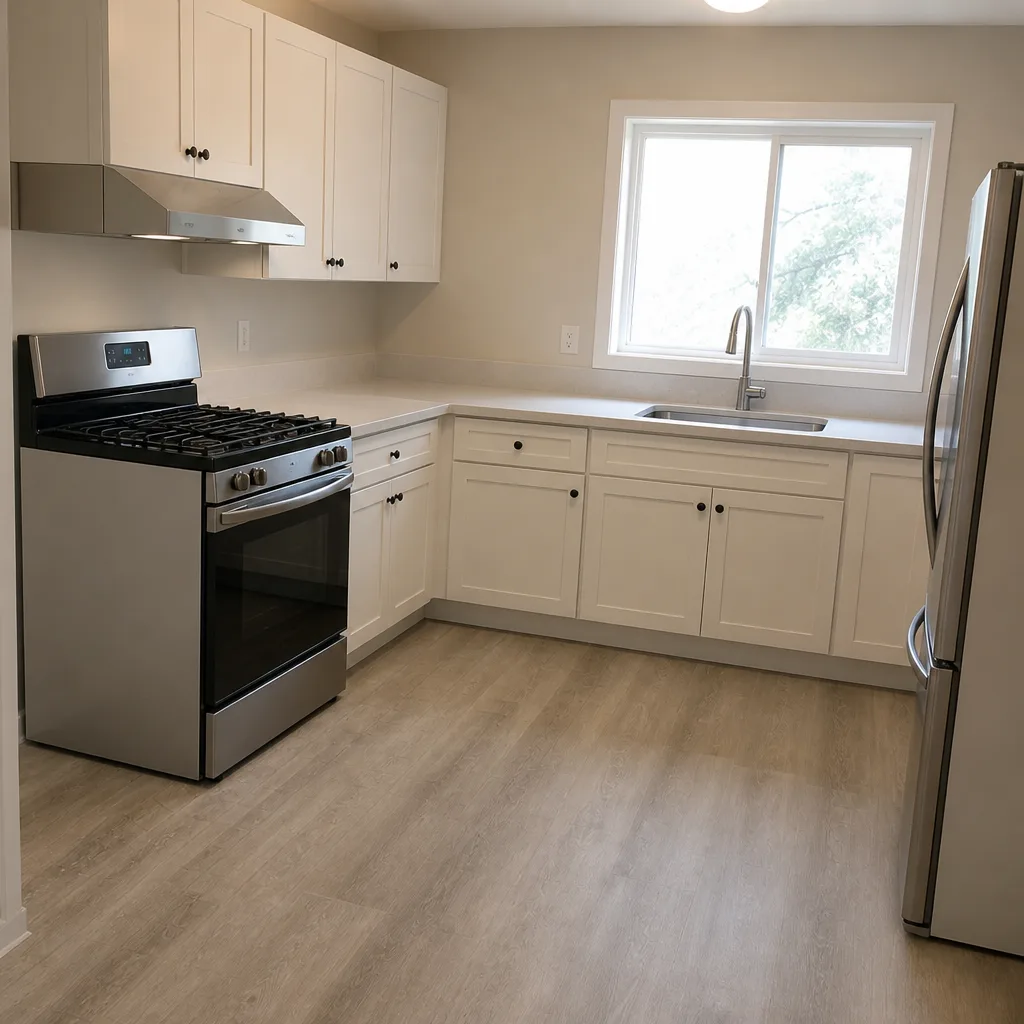 After
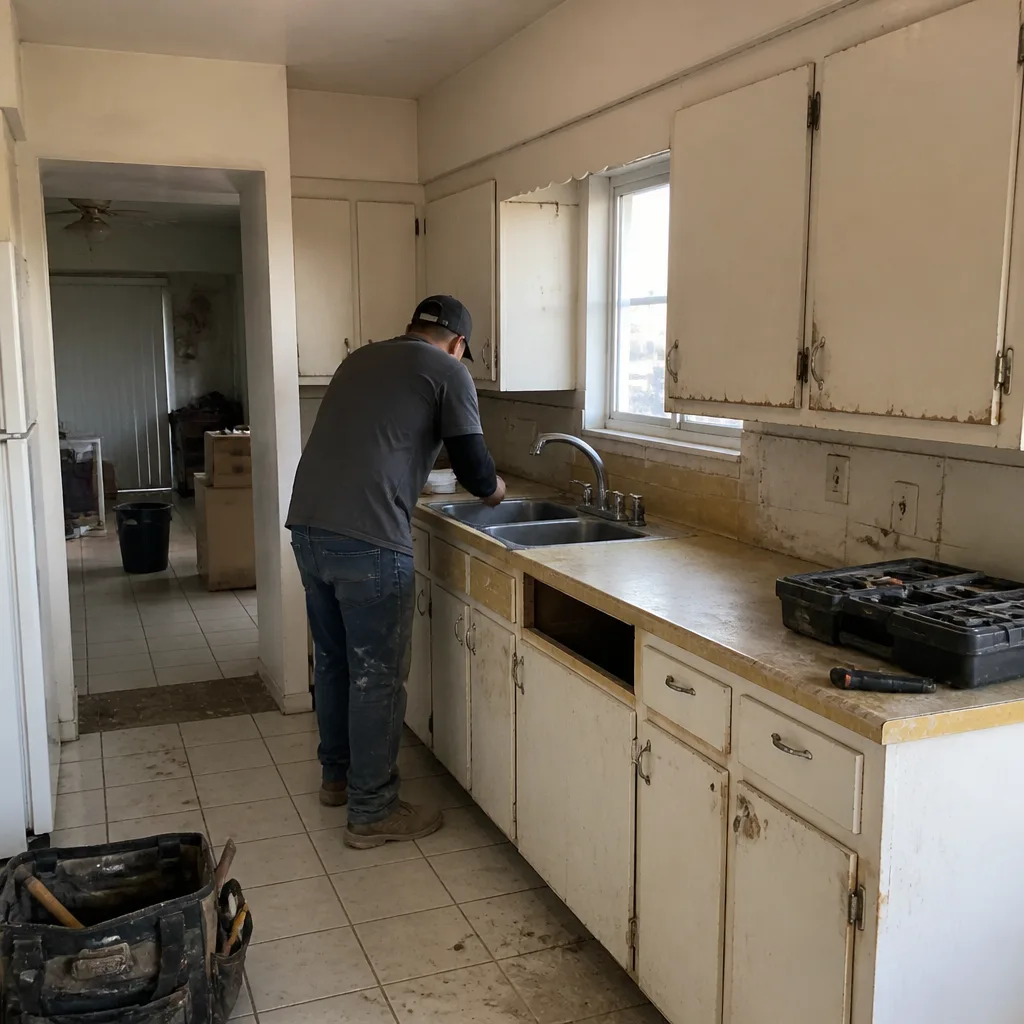 Before
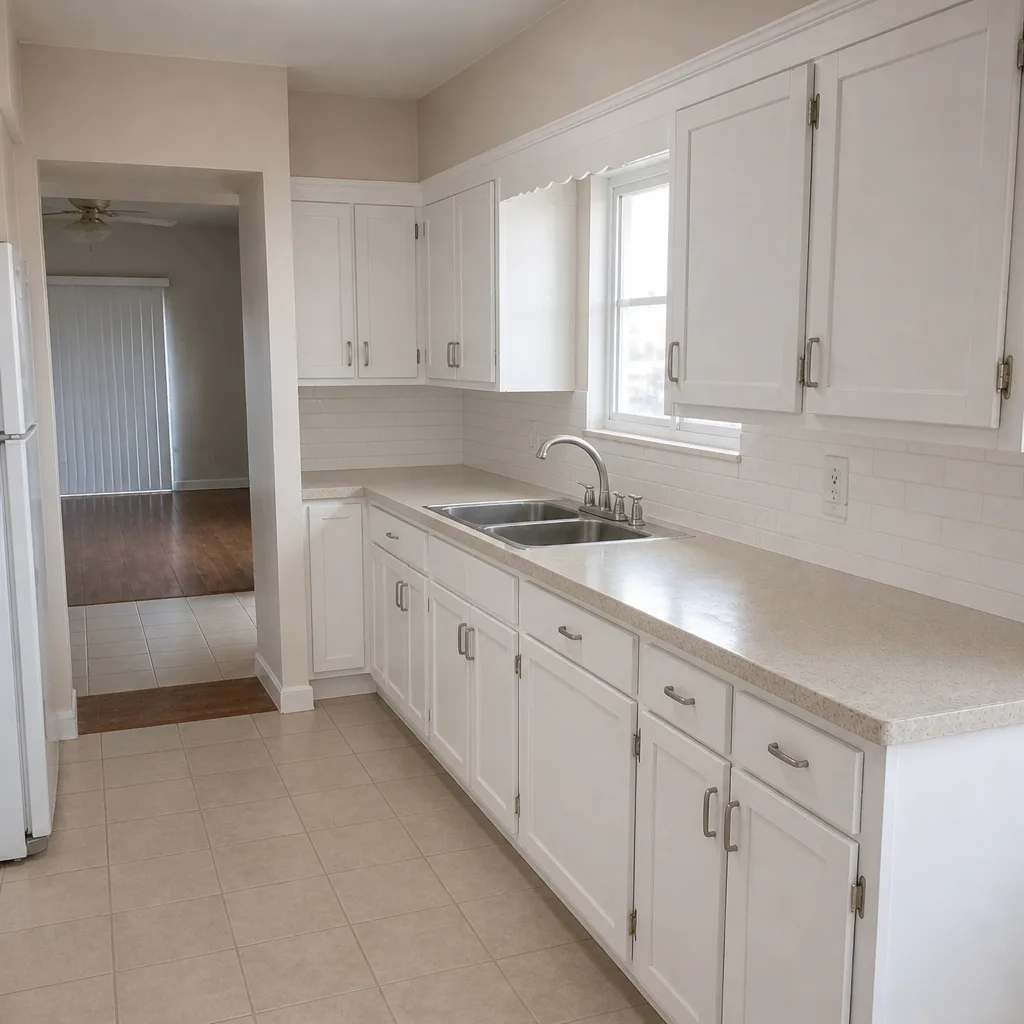 After
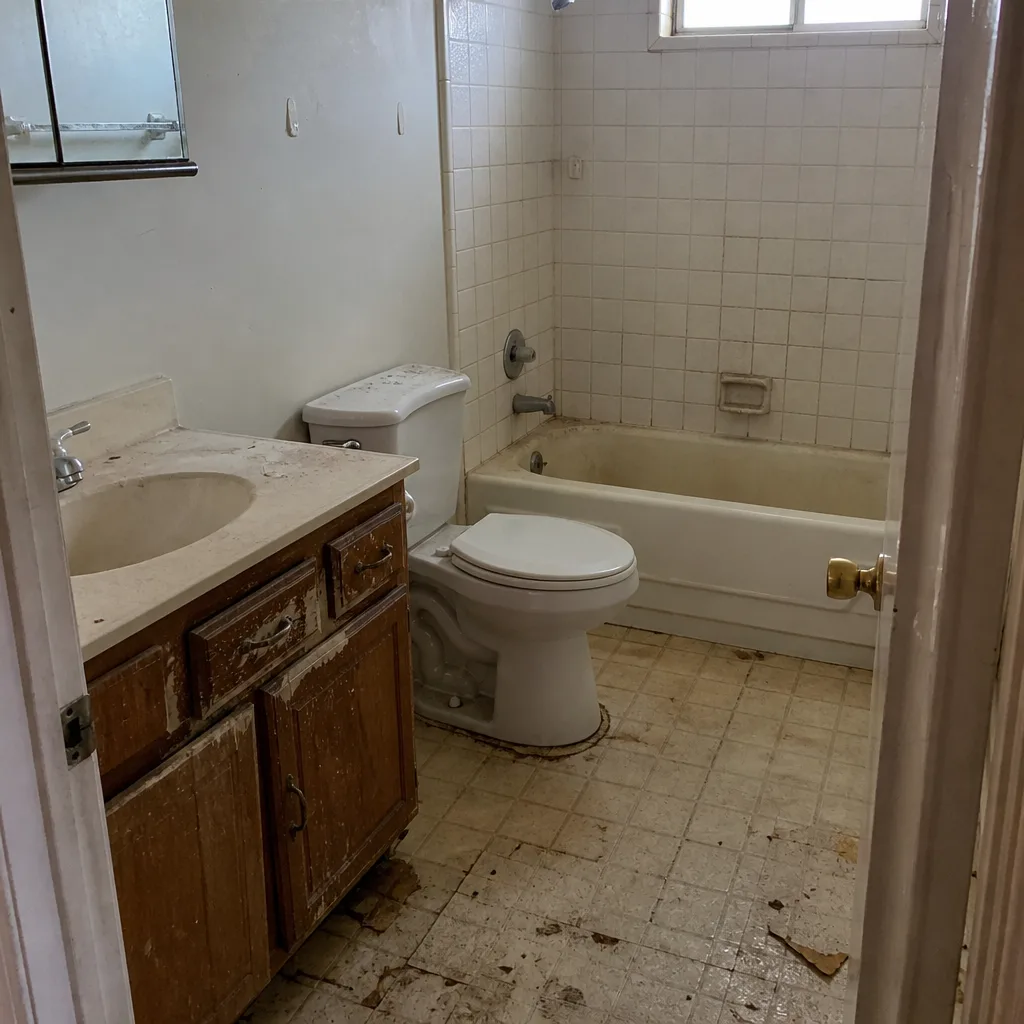 Before
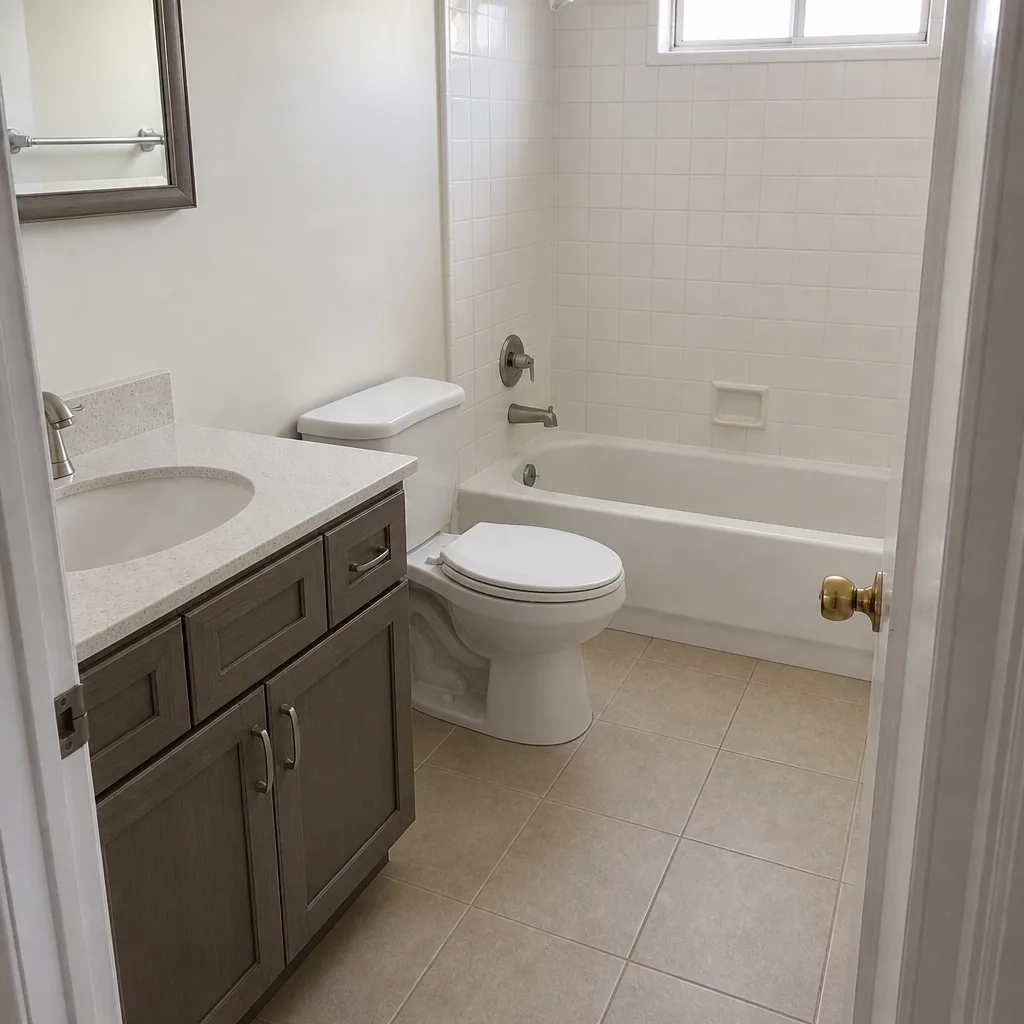 After
When to Call a Professional
Call a professional when the symptom points behind the wall or under the floor, when water has been sitting long enough to show staining or softness, when the repair involves plumbing or electrical work, or when a defect looks like it traces to installation. A hollow-sounding tile, a soft spot at the toilet, an attic duct that ends in the insulation, or a corner crack that keeps returning after the first repair all deserve a trained eye. Those five failures are exactly where we focus on a Paradise project. Penhallow Remodeling Paradise offers free estimates in Paradise, and you’ll get a written price before any work starts, call (844) 761-9837.
Frequently Asked Questions
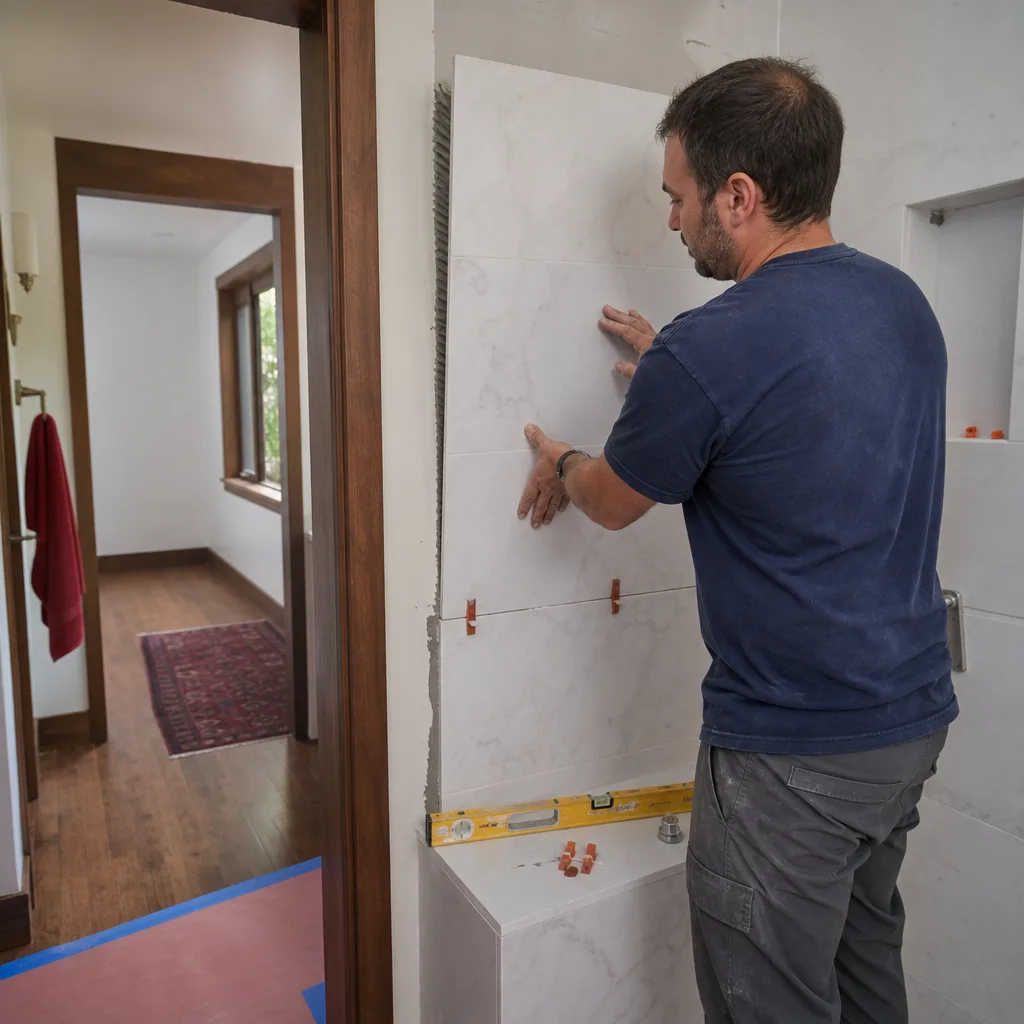
Replacing a single compromised tile or a movement joint typically runs a few hundred dollars, while opening a wall to redo waterproofing and re-tile a shower runs into the low thousands depending on the size and the tile. The number depends on how much of the substrate is affected, which is why a free estimate is worth an in-person look before committing. Call (844) 761-9837 for an exact quote, and the estimate is free.
Not always. A hairline crack at a corner or the floor-wall joint usually means the joint was grouted instead of sealed, which is a workmanship issue. Spider cracks across a tile field point to movement under the substrate. When in doubt, have it looked at before re-grouting; re-grouting the wrong joint only delays the fix.
Yes, when the scope requires one. Any work that involves moving plumbing, changing a fixture location, or changing the electrical is the kind of work a permit covers, and the local pro pulls it and the work is inspected. When a permit is part of the job, it’s named in the written scope before any work starts, not added after.
If the failure traces to how something was installed, it’s covered. That’s the whole test. Delamination, grout at a movement joint, a fan ducted into the attic, or caulk applied to a wet surface are all installation failures. Hard water staining and ordinary wear are maintenance. Our 365-Day Done Right Promise covers the first, and the free return visit if a repair fails is included on every job. If a repair fails, call and we come back at no charge.
It can do both. Film and light staining clean off with a descaler made for the material. Etching, which is surface damage in the shape of drip lines, doesn’t clean off and needs re-polishing or replacing. Use a cleaner rated for the surface, and if you’re not sure, call before using anything acidic on natural stone.
Most warranty visits are scheduled within a few business days, and the first visit is often enough to resolve the issue. If the repair fails afterward, there’s no service call fee and no re-inspection fee. A real person answers the phone around the clock at (844) 761-9837, so you’re never guessing when someone will call back.
The Bottom Line
Nearly every bathroom problem that shows up in the first year is a story about a single installation decision, and the fix is easier when you know which one. Movement joints need flexible sealant, not grout. Wet areas need real waterproofing behind the tile, not just a good-looking surface. Exhaust air has to leave the house. Caulk has to go on dry. And the seal under a toilet has to be set right, or the floor pays for it later. Document what you’re seeing, ask whether it’s a workmanship failure or a maintenance item, and hold your contractor to a written guarantee. That’s what protects the room in a Paradise home for years, not a quick patch.
Penhallow Remodeling Paradise is part of the Kingswell family of companies, operating to The Kingswell Way. Every project gets a written price before any work starts, a defined arrival window, and a written guarantee on the work itself. If something fails inside the guarantee period, we come back and fix it at no charge. Materials come from trade brands homeowners know, including KraftMaid and Wellborn cabinetry, Cambria and Silestone counter tops, and Kohler and Moen fixtures, so the products behind the promise are as solid as the promise. Whether you’re troubleshooting a shower that’s already been built or planning a bathroom from scratch, call (844) 761-9837 for a free estimate.
Written by the team at Penhallow Remodeling Paradise.